2D Easy - Information
Setup, Calibration and Transfer Settings
Table of Contents
Overview
This article has all the information related to the 2D Easy (Optex) device from Installation, Calibration as well as Count Transfer to T.M.A.S.
Coverage Area
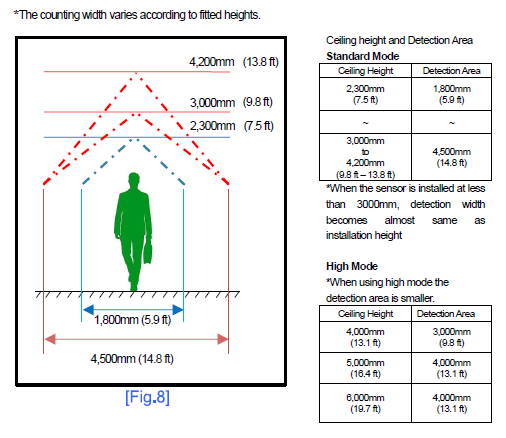
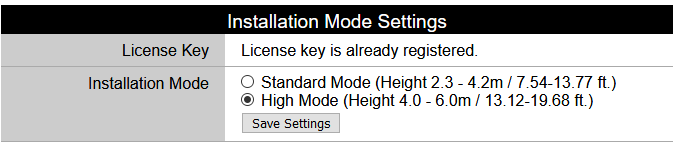
Activating High Mode - Requires Activation License Key
Installation Manual
VC SERIES_WEB SETTINGS_MANUAL_EN(Ver.5033).pdf
B2_VC-1020_Installation_Manual_EN_1511.pdf
Steps Prior to adding 2DEasy (Optex) to TMAS
- Set timezone on device
- Sync time with PC
- Update with transfer settings below
- Log out of camera (will not appear as device to be assigned otherwise)
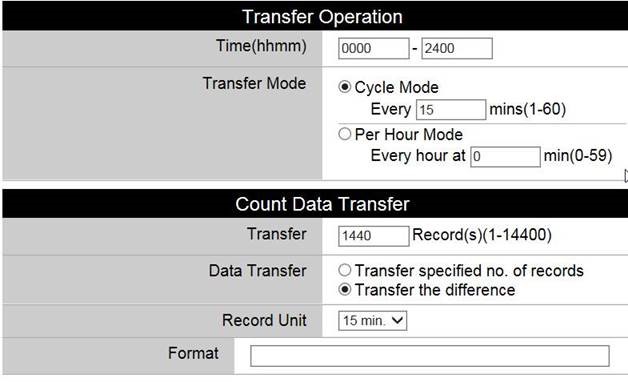
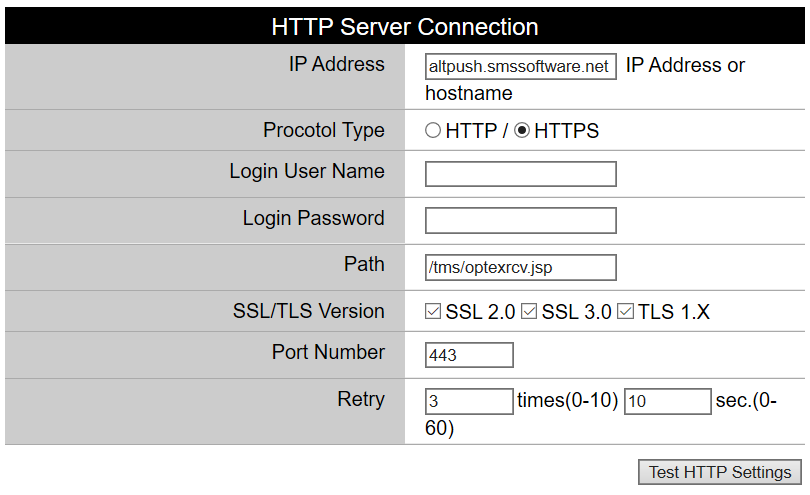
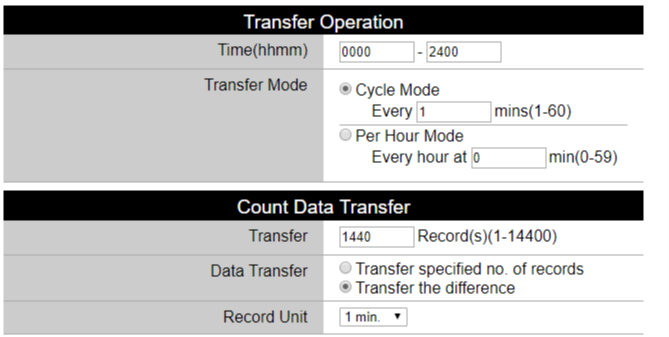
2D Easy (Optex) Transfer Settings for TMAS
File for Import - transferPara.dat

How to Add to TMAS
- Login to TMAS
- Select Location to add equipment in Location options. (Refer to Manage Locations help reference if location does not exist and needs to be created.)
- Select Configure
- Select Equipment Inventory
- Click Add
-
Select Device

-
Bullet Brickstream by MAC Address / IP Address from Unassigned list
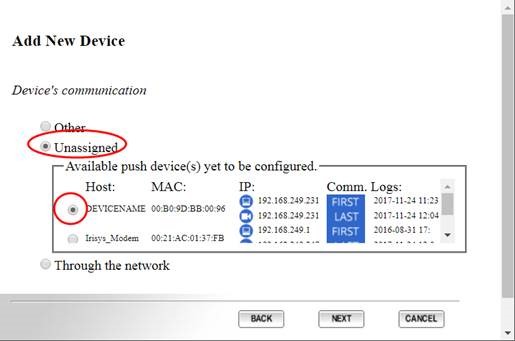
- Click Next
-
Confirm Brickstream
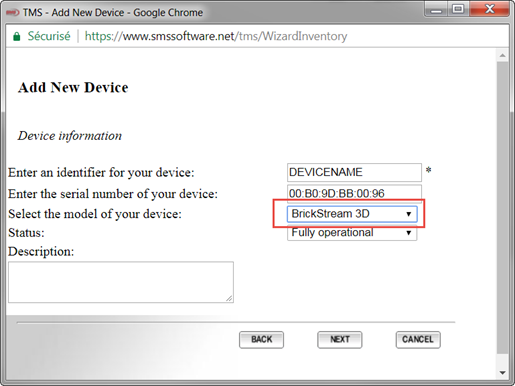
- Click Next
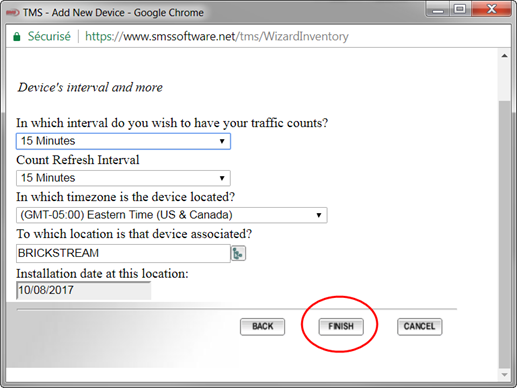
- Set Interval - 15minutes
- Set timezone to timezone for location where device is
-
Click Finish
-
Refresh and Verify device has been added successfully

Additional Information
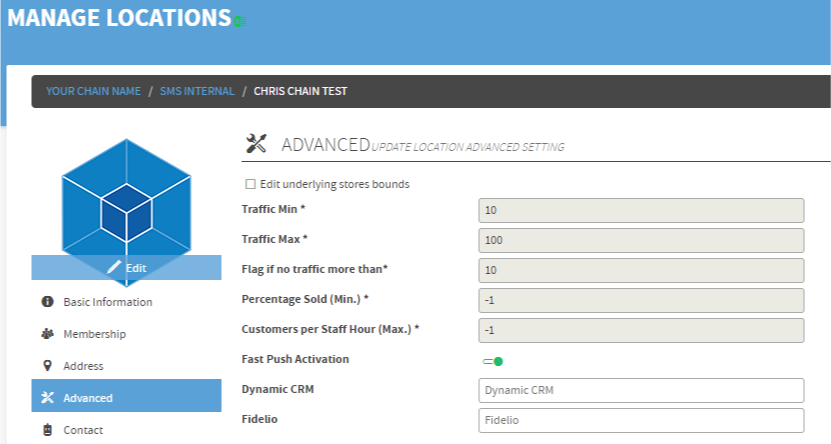
Enabling the Easy-2D for Fast Push
1. In TMAS go to the chain and then in Manage Locations, Chose the Advanced section on the left and enable Fast Push Activation
2. In the Easy-2D GUI
Go to the Transfer Section and modify the Transfer Mode to 1 minute and the Record Unit to 1 minute also.
3. Reboot or power cycle the Easy-2D.