Groups Management
Using, Creating and Editing
Table of Contents
Groups for Reports
Reporting Groups enable District / Regional managers to gather information more effectively by narrowing locations based on their needs. Also can be used to make a customized group of store locations which are part of different Regions, District and even Chains. They are custom to the user who created the group, however can be shared with other users provided they have privileges to view the locations data.
Click here for more Info about how to create Districts / Regions
Example: Create a group name top 10 and then add your 10 best performing locations. Or you create groups based on your preferences.
 |
When selecting a previously created group or a group which has been shared, the current location selected under locations options will be greyed out. |
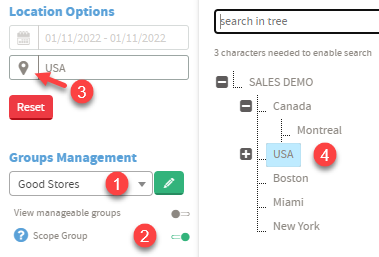
Scoping Groups for Reports
Scoping a group allows you to filter out locations in a particular Chain, District or Region with locations which you have made part of your group. So if you have a TOP 5 locations, but they are spread out in different regions, you can scope the group when focusing on those regions to report only on the TOP performing locations in that region.
Example: say you have store, 1,2,3 in region A, store 4,5,6 in region B and 7,8 in region C. You previously created a group called '3 best performing Stores' which included 1,4 and 8. you could then request a report listing for Region B that includes the scoped group 3 best and you get a view for 4 stores in region B.
How to Scope a Group |
|
|
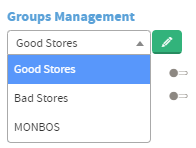
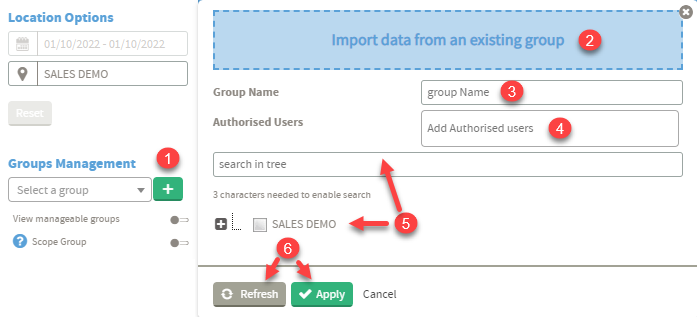
Creating a New Group |
 |
|
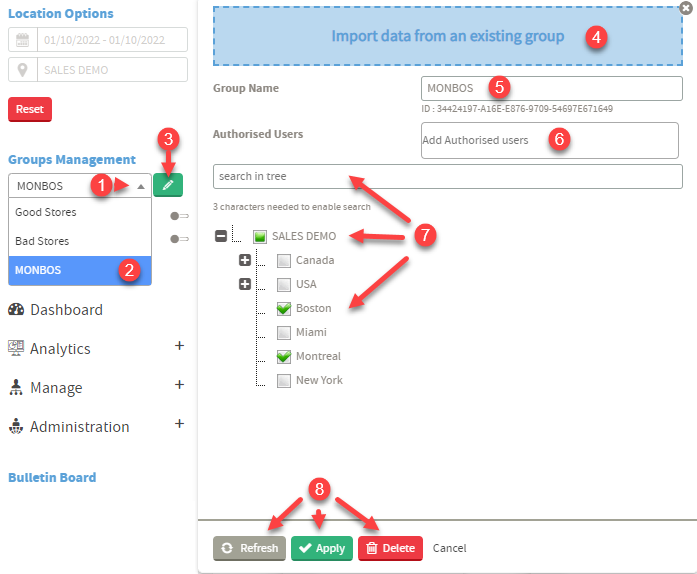
Editing an Existing Group |
 |
|