Create Your Company on SMS StoreTraffic – Quick Guide
Step-by-step guide to creating your SMS StoreTraffic app account. Register today to start managing your store's traffic effectively!
Table of Contents
Welcome to the SMS StoreTraffic App Company Creation Guide
Setting up your company within the SMS StoreTraffic app is a crucial first step in harnessing the power of precise foot traffic analytics. Whether you're looking to optimize daily operations, enhance customer experiences, or streamline your staffing needs, our platform is designed to facilitate these goals with ease. This guide provides a straightforward, step-by-step process to help you create your company profile, enabling you to take full advantage of our robust analytics tools. Follow these instructions to set up your company quickly and start making data-driven decisions that propel your business forward.
Requirements
- Downloaded App
- Created an Account
- Company has not been previously setup
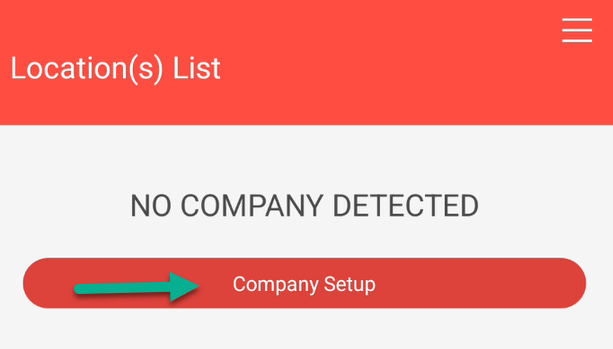
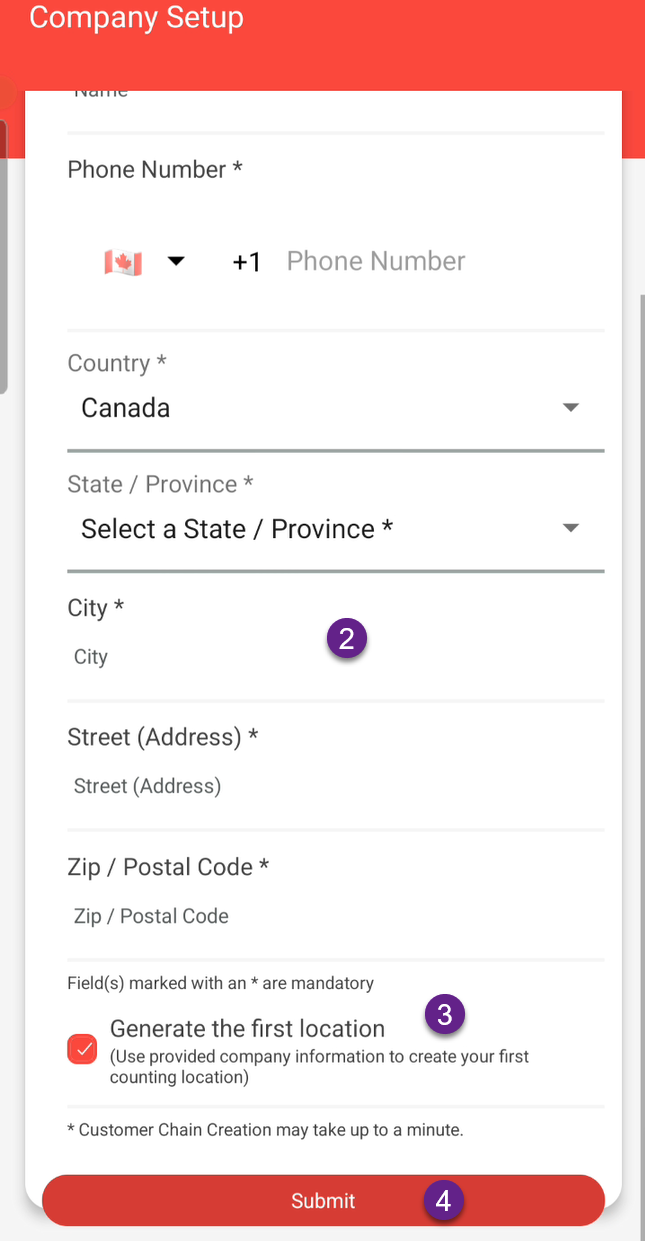
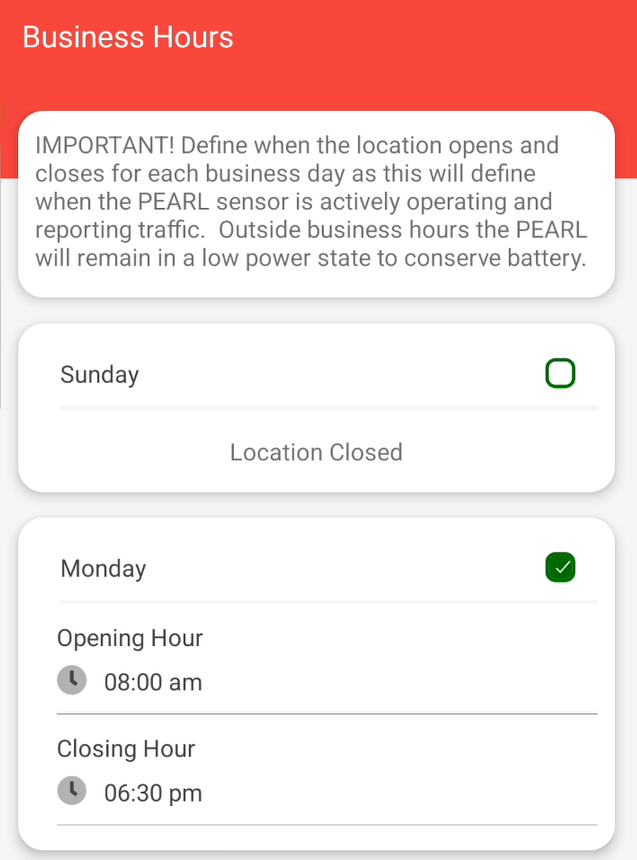
Company Setup / Business Hours | |
|
| |
|
 |
 | |
 | |
Company Setup F.A.Q. | |
| Q: How do I edit my Company Information? |
A: Select Edit location from the Location options next to the location you would like to modify. 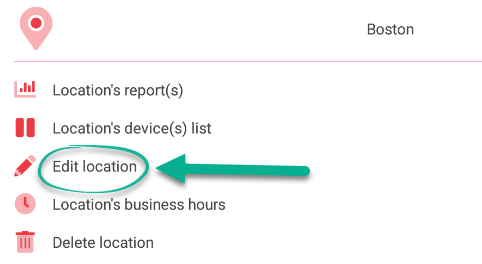
|
| Q: Do I need to make an account for every location? | A: A single account / login can create multiple locations. However if you do NOT have a TMAS subscription, the account is limited to simultaneous login on 2 devices at a time ONLY. With a minimum TMAS Standard subscription, there is no limitation on the number of users for a single account. Additional logins can be created through T.M.A.S. |
| Q: Do I need to make a location for every device? | A: For reporting purposes a location should be defined as a group of devices as it will show the sum of traffic of all linked devices on the particular location. |
| Q: Where can I download the Free App? |
A: iOS Android |
|
Q: I am not receiving account creation /password reset emails. |
A: A: Learn more here. |