Update WiFi on Pearl Counter for Network Changes
Switching networks? Follow our quick guide to update the WiFi settings on your Pearl People Counter effortlessly
Table of Contents
Overview
Ensuring your Pearl People Counter remains connected after a network change is crucial for continuous data tracking and analysis. This guide provides detailed instructions on how to update the WiFi settings when you're switching to a new network. You'll learn the step-by-step process to access the device settings, input new network credentials, and effectively manage connectivity to prevent data interruptions. Additionally, we'll cover tips for troubleshooting common issues that may arise during the transition.
Smart App: PEARL WiFi Update Procedure (with video) | |
1) From the list of locations, press the "settings icon" adjacent to the desired location to access its options. |
|
 |
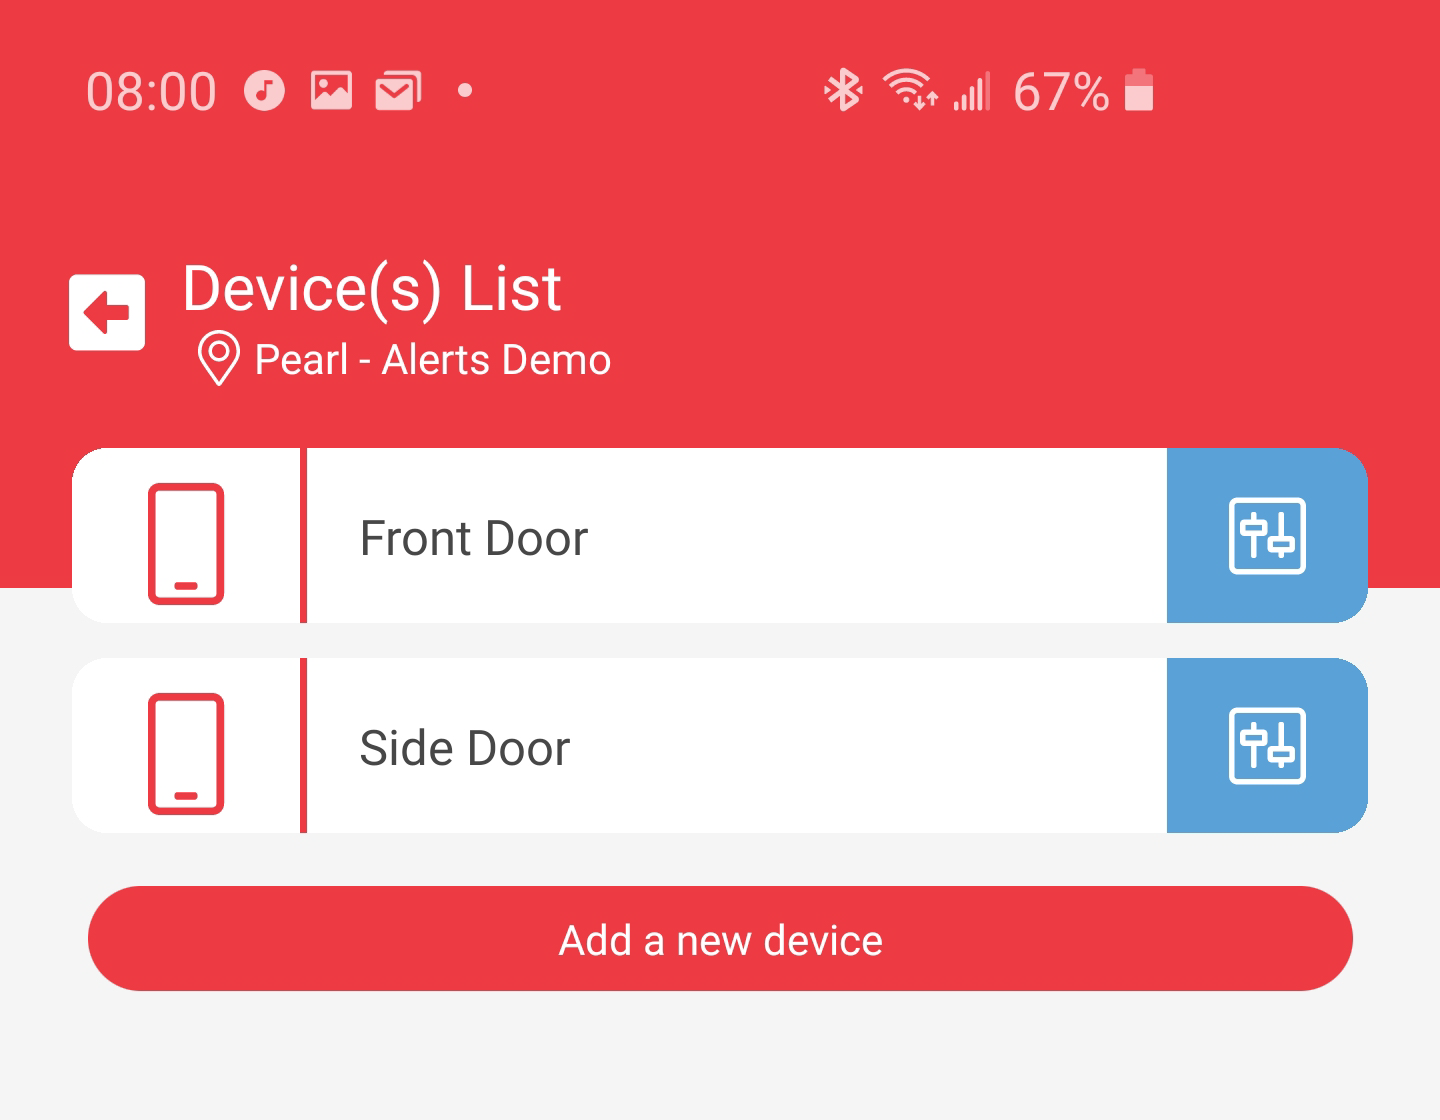
2) Tap on the "Device(s) List Icon" for the device's location. |
|
3) Tap on the settings icon adjacent to the PEARL device that isn't communicating.
|
 |
 |
4) Press on the "Change Wi-Fi" icon. |
|
5) Enable setup mode by pressing the hidden button on the MAIN sensor for 5 seconds until the light is solid. The PEARL sensor will activate its Wi-Fi access point. Then press "Next".
*Note that in the app, the steps start at 10 since the unit is expected to be all ready installed. If not already installed, back out and follow the installation steps.
|
|
 |
6) Wait for your PEARL to bring up its Wi-Fi internal access point. This will allow the Pearl enough time to wake and broadcast it's access point which is Storetraffic_Pearl. It is recommended to only perform the WiFi setup on a single pair of sensors at a time as to not have conflicts. *Note if you receive a connect to pearl network or allow device's location message, you will need to allow or accept this message for the app to be able to connect to the Pearl counter in order to program it. |
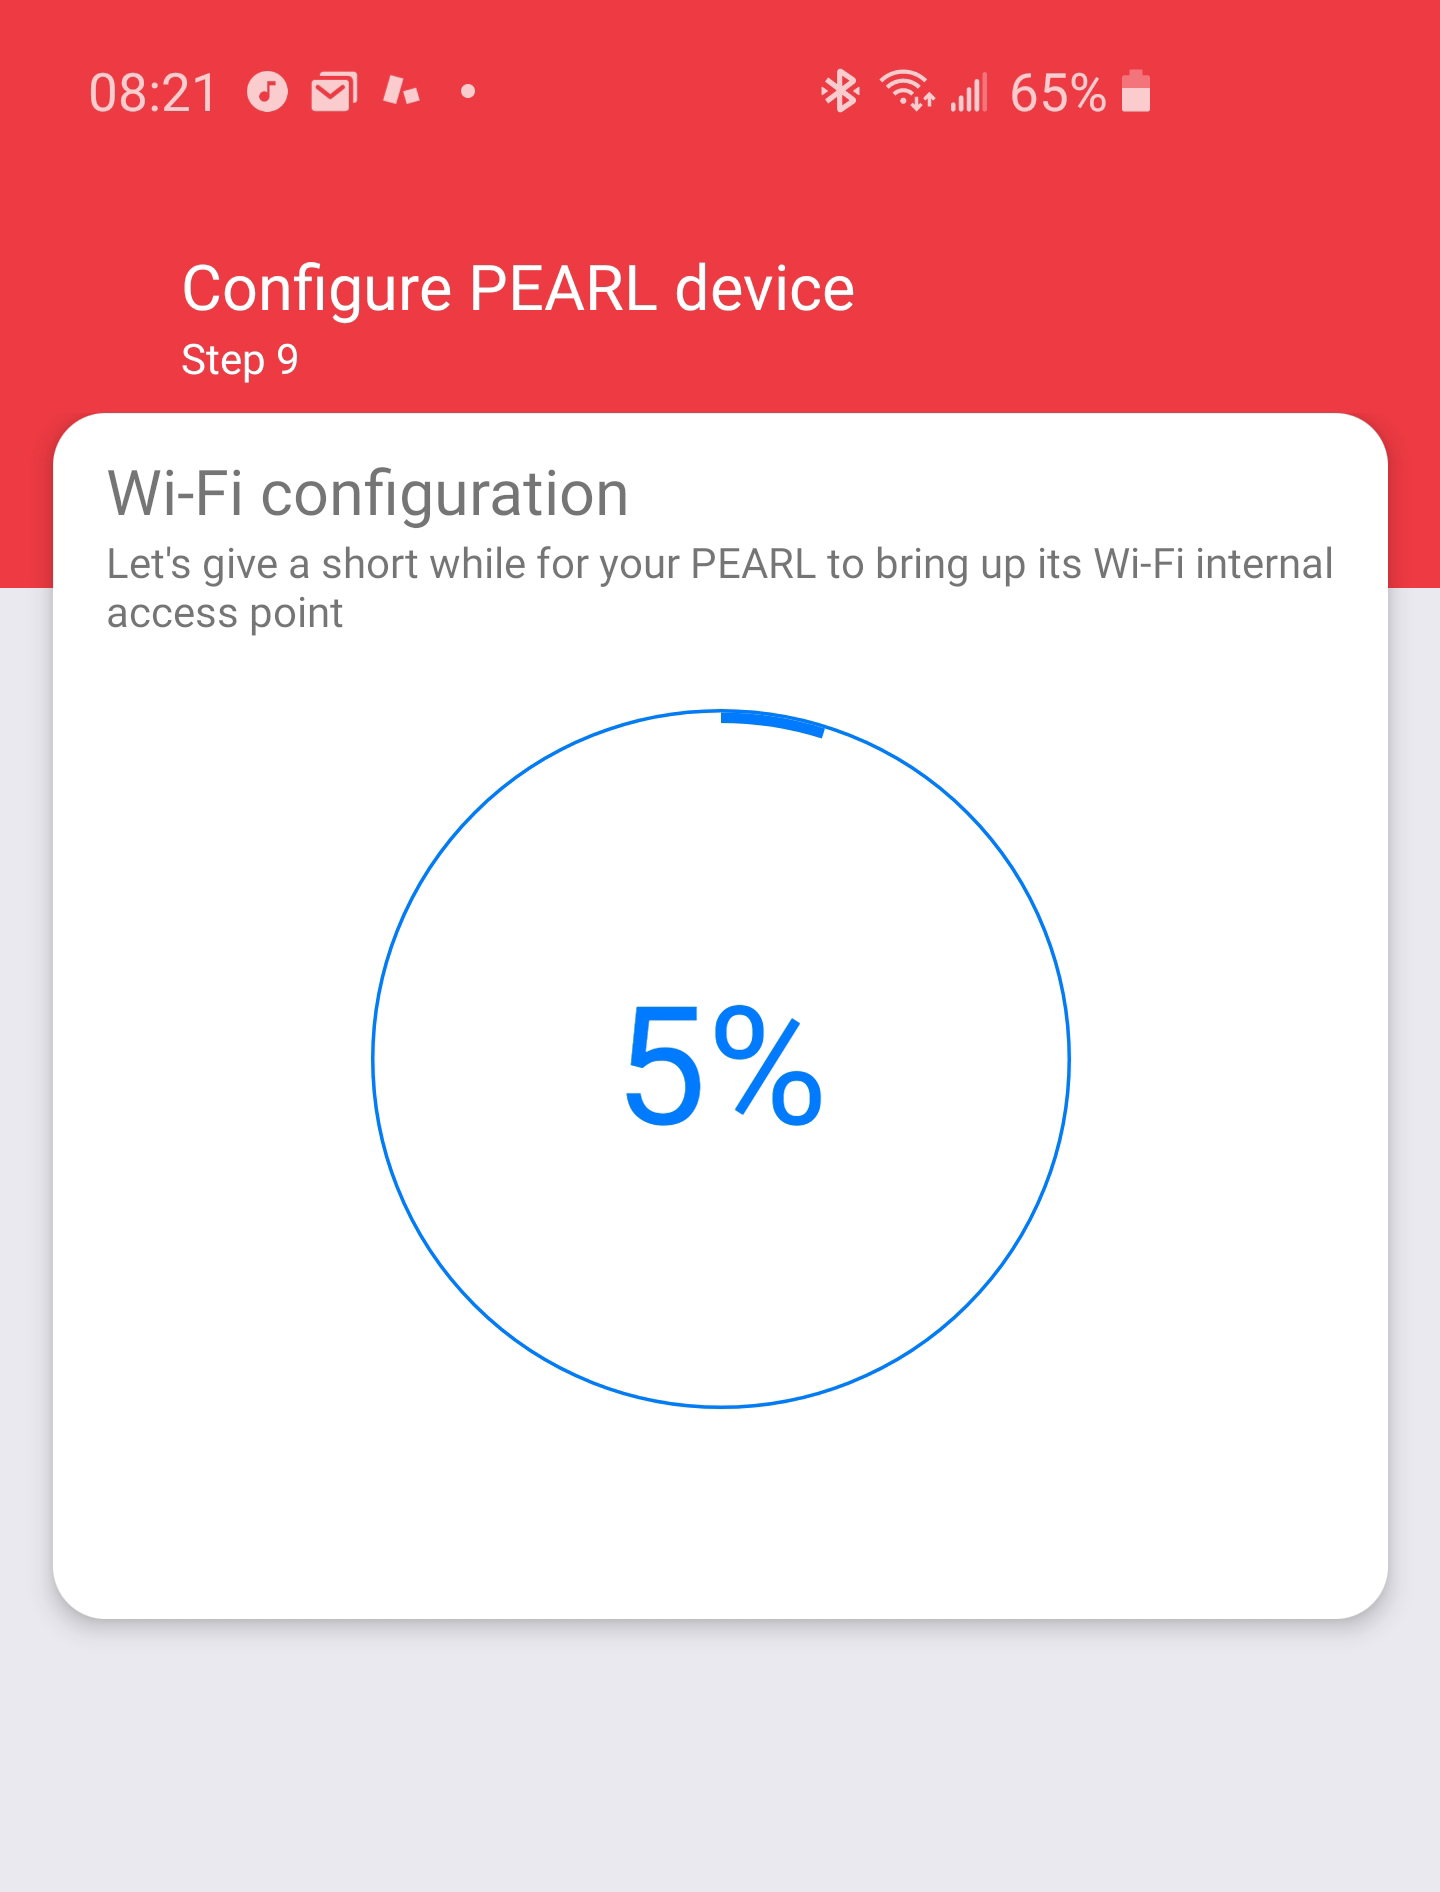 |
7) On the next screen, we just need to wait for the unit to bring up its Wi-Fi signal |
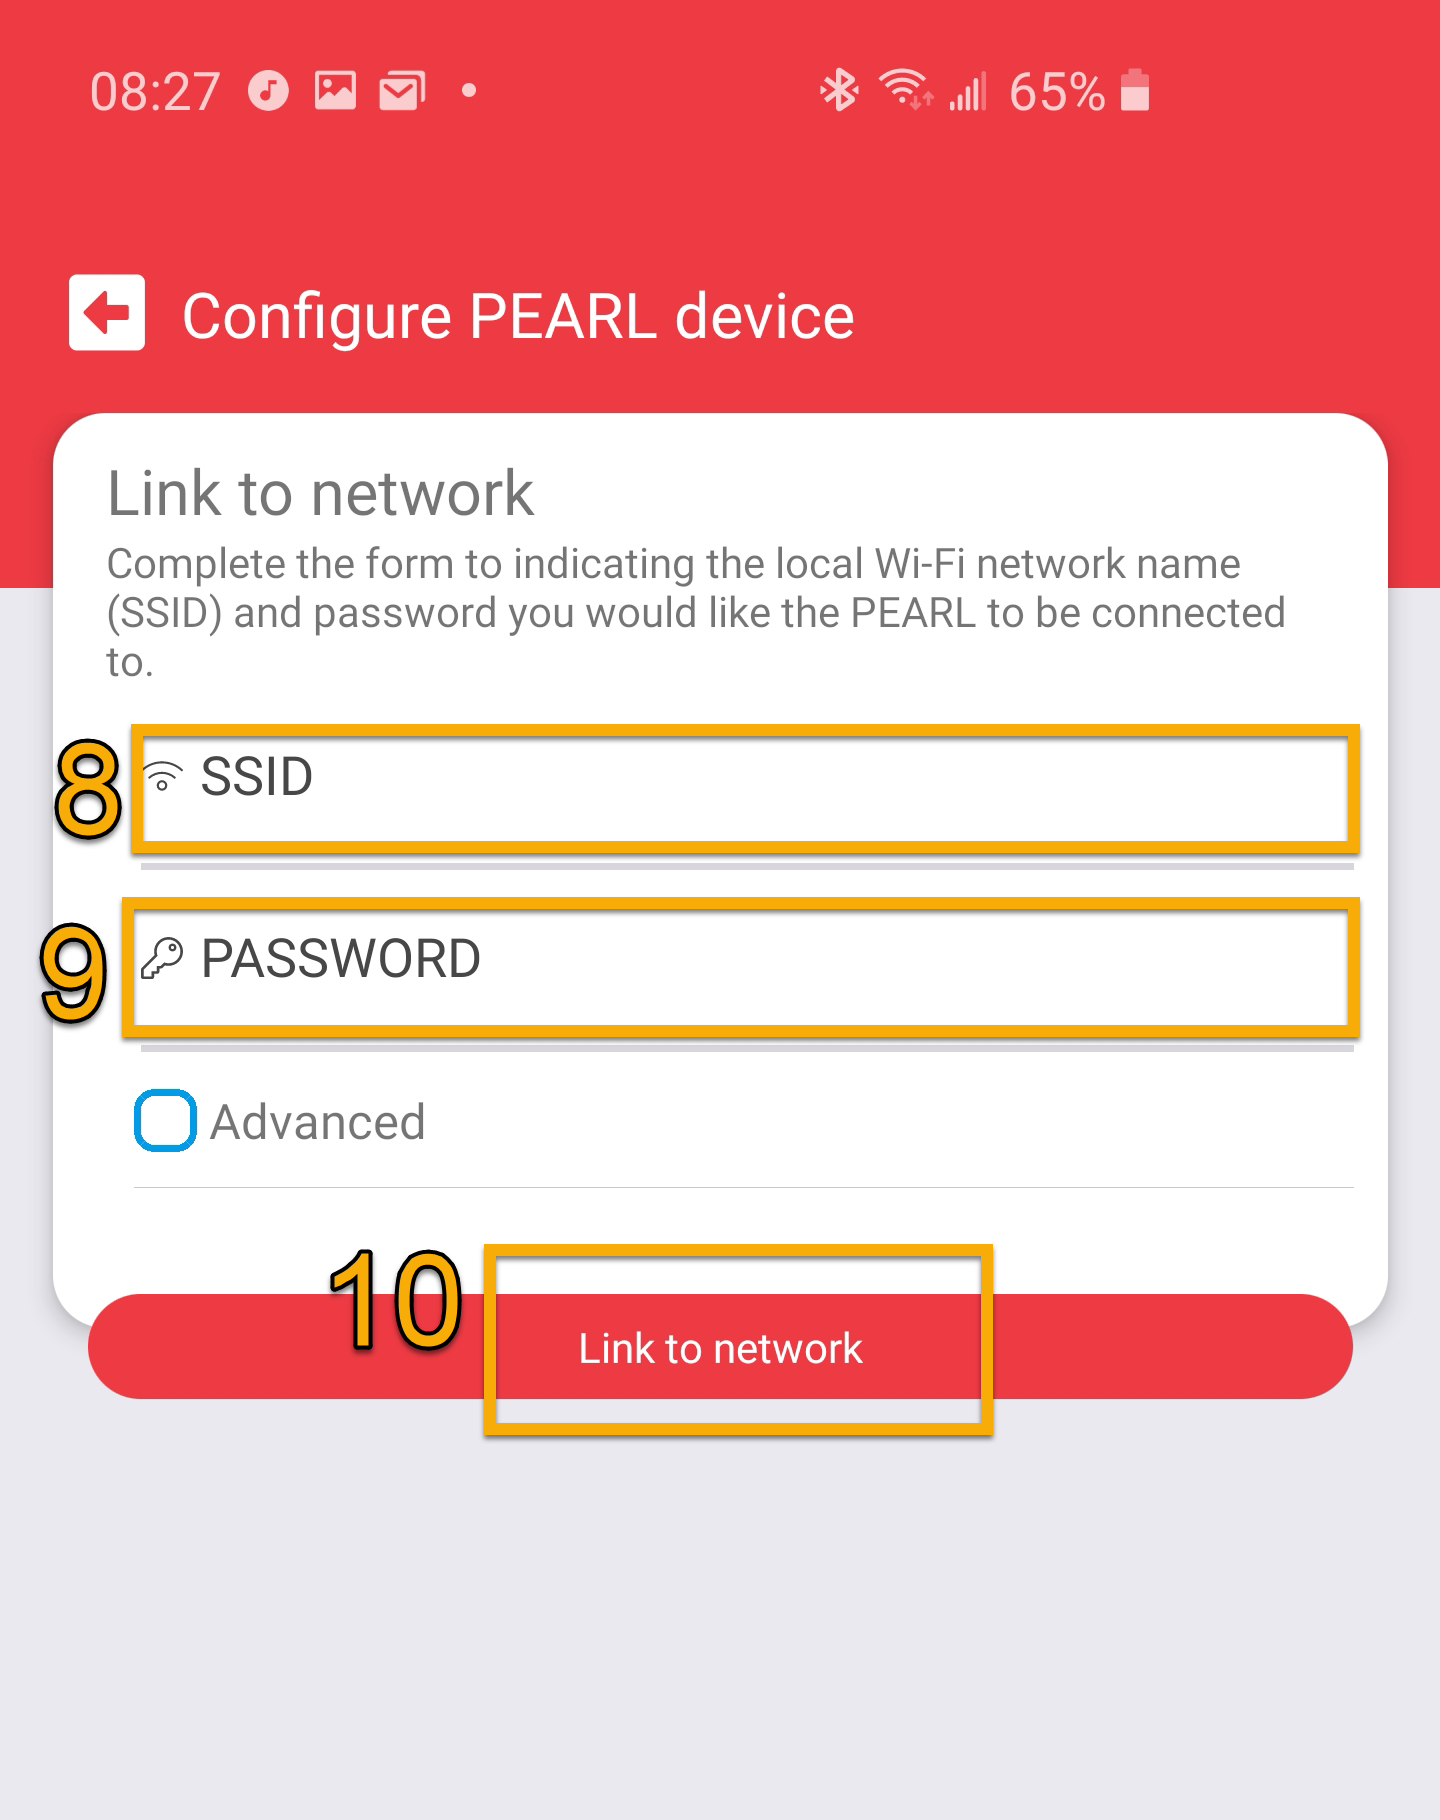 |
8) Input your SSID (name of your Wi-Fi network)
9) Input the WiFi Password |
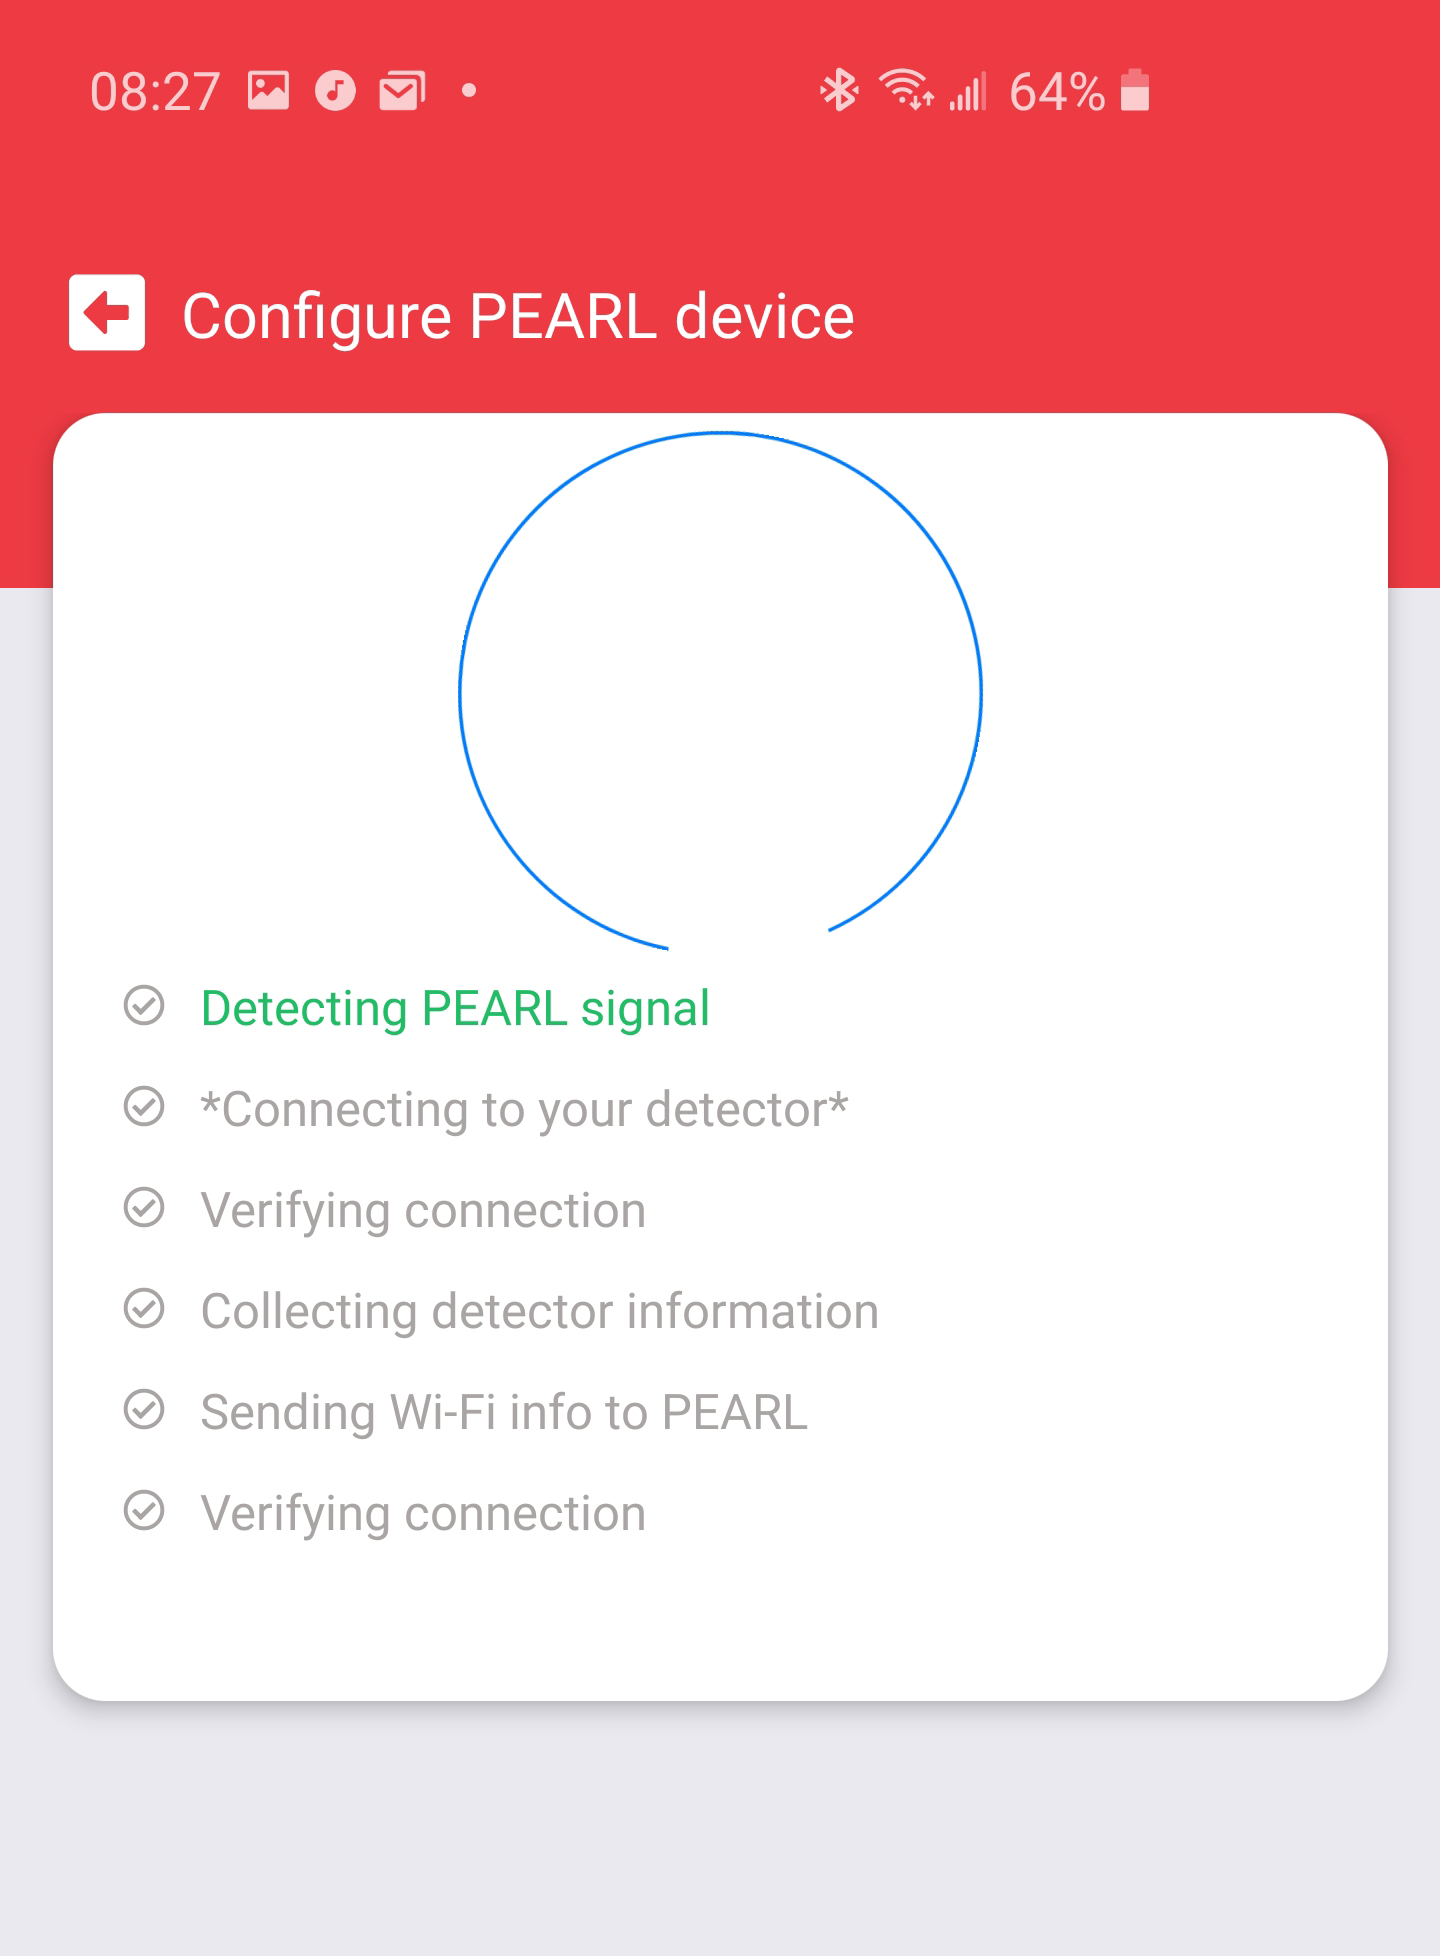 |
11) Next let the application run |
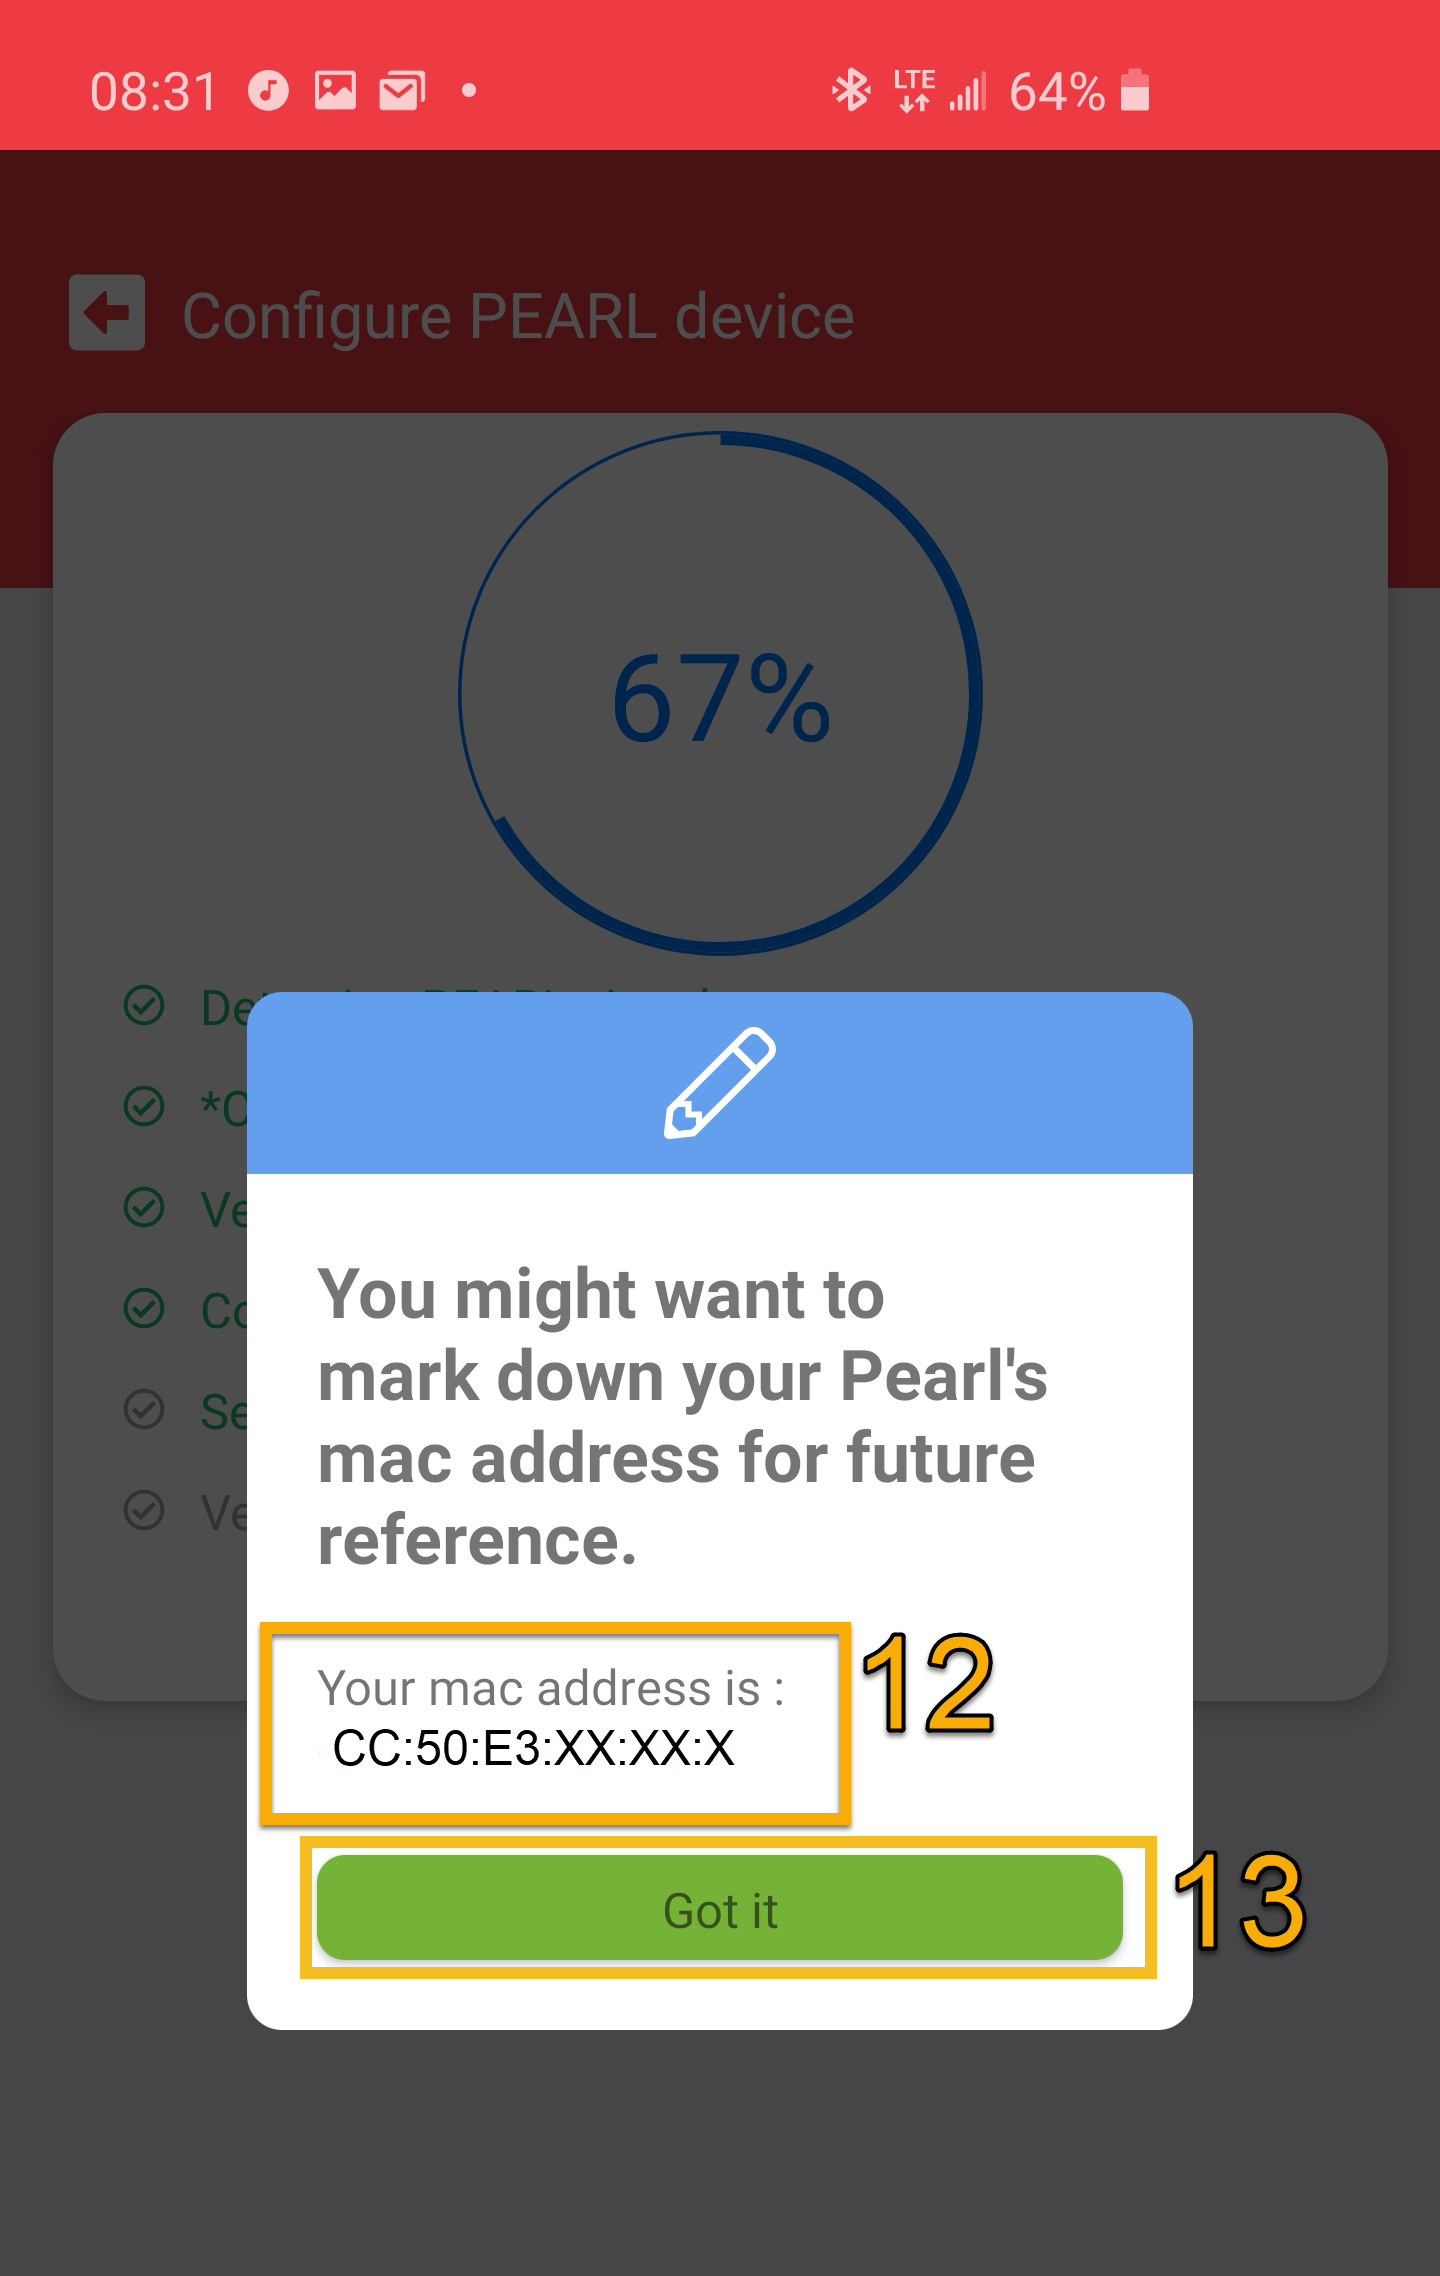 |
12) Near the end of the progress, you'll have a popup with the device Mac Address. Please write the MAC address down.
13) Press on "Got it" |
 |
14) Once completed, the app will return to the Device(s) List page
The unit should start reporting at its next interval, which should be at the next hour. |
If you are experiencing issues with the Smart App, Please try our backup procedure: Pearl - How to configure from a PC |
|


FAQ |
| Q: What if the PEARL does not connect to my Wi-Fi? |
| A: Verify if the Wi-Fi credentials were correctly entered as well as Verify if your smart phone can successfully connect to the same Wi-Fi network and ensure that there are either 3 bars or more on the phone's Wi-Fi indicator icon (or if you have a Wi-Fi scanner -79dbm or less) |