TMAS - Manage Locations
How to create, edit, or delete locations
Table of Contents
Feature Overview
This section allows for the creation of new chains, districts, regions and store locations. These locations will appear in the location options and be select-able during report generation. Chain is typically the TOP level of the Location tree and Store the bottom. Regions are used to connect stores together in a single branch and districts can be used to connect regions. A top level chain could also be used to represent the owner of many brands and have other chains (brands) connected to it.
Locations play an important role in user creation as well, since user permissions can be pointed to a Chain, District, Region or Store. This will also allow the user to only be able to generate reports on the branch or location they have access to in the tree.
It is important to take the time and think about how best to go about the structure if you have more than 5 locations or especially if you have supervisors or managers responsible for a group of stores.
How to Access
*User must have Chain or Chain and Users access*
- Login to TMAS
- Expand the Configure section
- Select Manage Locations
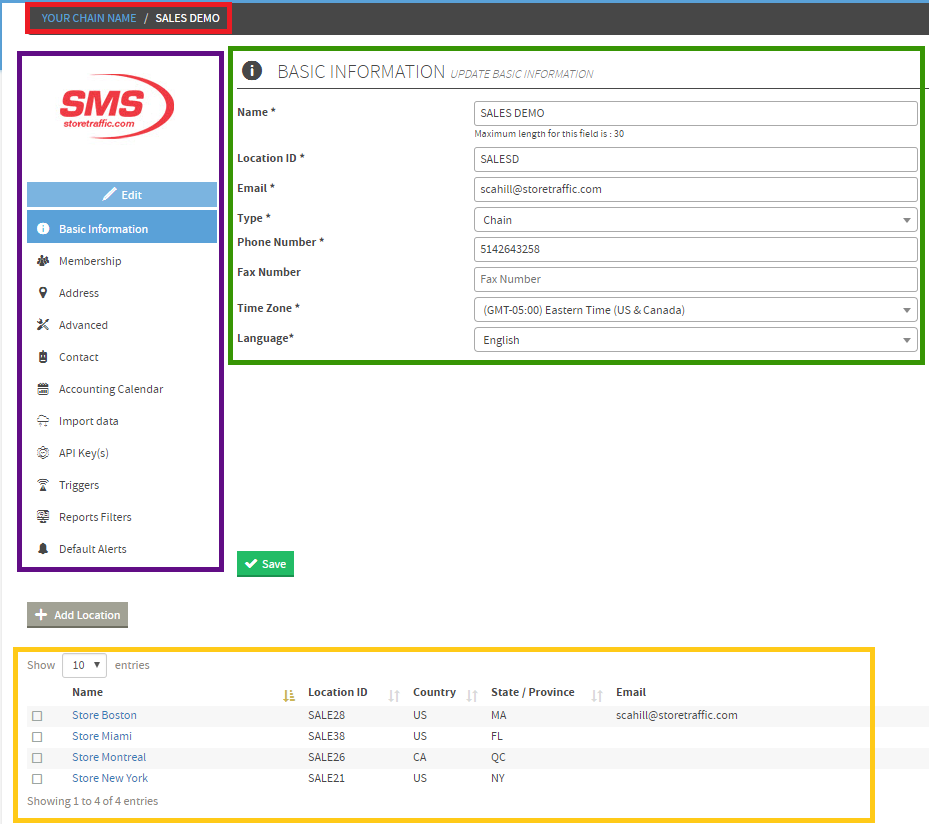
Main page overview
The main page is made up of 4 different parts.
- Location Folders: Allows to view the connections of locations from Chain down to store. Can also be used for quick selection by clicking.
- Location Info Sections: These are the different sections which make up how a location is configured.
- Section Info Input Window: Used to select, input or edit information about a location.
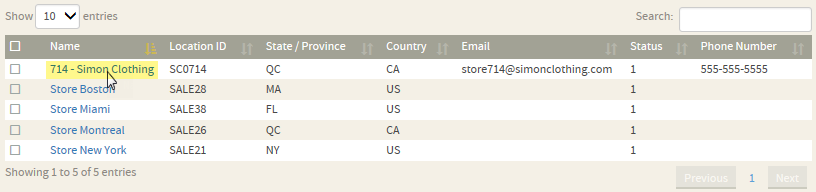
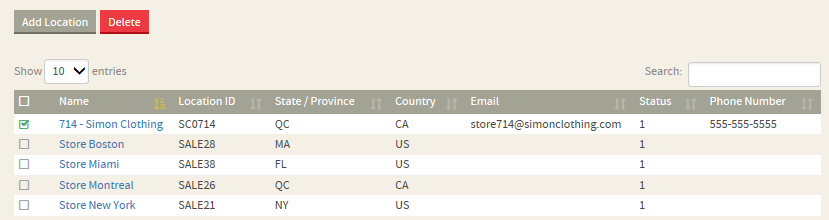
- Location List: Displays existing locations which can be sorted by the arrows above each column. Provides a quick reference for locations state/province, country as well as main contact e-mail and phone. Checking a box next to a location will allow it to be selected for editing or removal. You can also search to narrow down a selection if you have a lot of locations.
How to add an image or company logo to a Location
- Select a location
- Select Edit in the Location Info Section
- Browse and Select an Image
- Click Open
- Image should refresh and appear
BEFORE / AFTER
Adding a New Location
- Select Add Location
-
Complete the Basic Information Page
- Name: Identified name to be used for this location
- Location ID: Unique alpha numeric identifier for this location. Typically 2 letters for the Chain (Initials) and 4 numbers for the Store (best to pad with zeros). Example: Simon Clothing store number 714 would appear as SC0714. Store number have increased importance if Sales and Transactions will be imported into TMAS and must match.
- Business Category : Retail or Public
- E-mail address
-
Type:
- Chain
- District
- Region
- Store
- Phone and Fax number
-
Time Zone

- Click Next
-
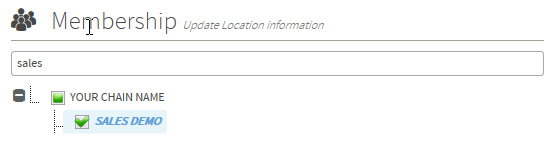
Select the Location Branch that this location is a member of
- Click Next
- Complete the Address info section
-
Accurate Location info is important for the weather feature which appears in some reporting as well as the currency sign
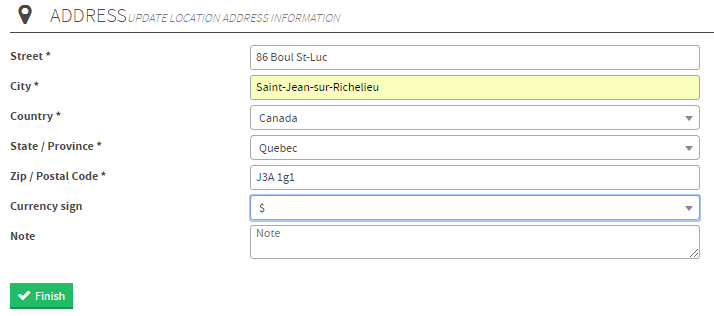
- Click NEXT
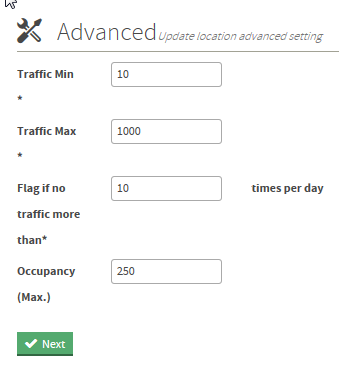
- Complete Advanced Section
- The advanced section features specific alerts which can be used to detect issues or when a location is particularly busy
- Traffic Min: The minimum daily traffic threshold
- Traffic Max: The Maximum daily traffic threshold
- Flag if no traffic more than*: # of intervals where no traffic is not normal
-
Occupancy (Max.): The highest # of people allowed in this particular location at any time. Useful for locations under strict fire code, can also be used to alert staff when particularly busy.
- Click Next
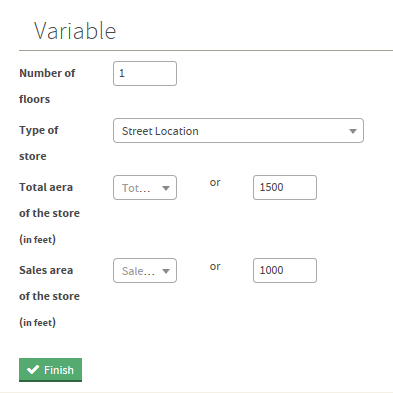
- Complete Variable Section
- Number of Floors
- Type of Store
- Total Area of the Store
-
Sales Area of the Store
- Click Finish
-
Complete Message to appear at TOP of screen.

Editing a Location
Note* a Location Type cannot be edited. Add/Delete location instead.
-
Select location from the Location List
- Select desired info section form left to edit
- Edit Info
- Click Save
Deleting a Location
- Check the location from the Location List
-
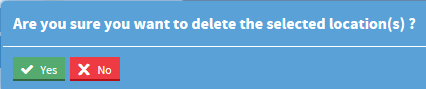
Click Delete
- Click Yes to following message confirming that you're sure
Steps to Give a User Access to Multiple Locations in T.M.A.S.
|
1. Create a Region or District that Groups the Two Locations To make management easier and ensure proper user access:
|
ii.  iii. Example: Stores are called “Montreal” and “Toronto”  
|
|
2. Assign the User to That Region/District Now, grant the user access to that grouping:
|
 |
3. Confirm Access by Logging in as the User (if needed)
Optionally, test the user’s access by impersonating the account or having the user log in and confirm they can:
- View both locations in dashboards or reports.
- Filter or compare traffic data across the two locations.
If needed, you can also refer the user to these two articles directly:
- Manage Locations: https://help.storetraffic.com/manage-locations/tmas-manage-locations
- Manage User Accounts: https://help.storetraffic.com/configure/tmas-manage-user-accounts
FAQ
Q: Can you create a chain under an existing chain?
A: Yes, this is known as a sub-chain.
The user creates a chain under the main chain.
Q: Who uses sub-chains?
A: Sub-chains are normally used by a chain with multiple brands or a 3rd party with various clients.
Examples:
| 1) ABC Tech Company provides installation and support services for People Counting solutions to multiple businesses. ABC Tech will act as the main chain, with each individual client designated as a sub-chain. |
 |
| 2) The parent company will be designated as the main chain, while each individual brand will function as a sub-chain. |  |
Q: Why might a store appear twice in my traffic data export?
A: In some cases, a store may appear more than once in a traffic data export if it is assigned to multiple parent locations in the location hierarchy.
Best practice is to avoid linking the same store at multiple hierarchy levels (e.g., both to the chain and the district).
More info here