PEARL - Adding a Wi-Fi Extender
Table of Contents
Overview
This article helps customers resolve a weak Wi-Fi signal at the PEARL's installation point by installing a low-cost Wi-Fi Extender.
Where to purchase:
- Amazon Canada: TP-Link RE 450 AC1750
- Amazon US: TP-Link RE 450 AC1750
Installation Guide
| Power on the extender | |
|---|---|
| Plug the extender into a power outlet near your current router and wait until the power LED is lit solid blue. | 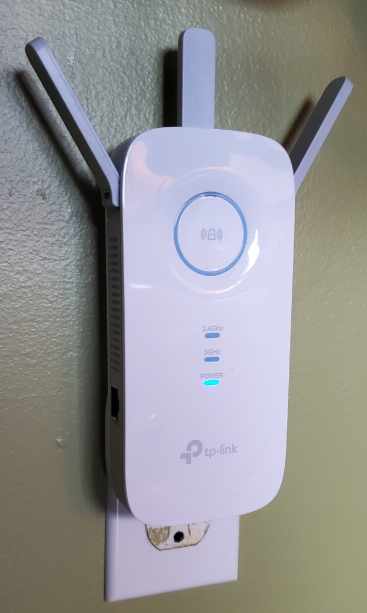 |
| Connect to the extender | |
|---|---|
| Unplug any Ethernet cable connected to your computer if any. | |
| Click your Wi-Fi or Network Icon. | On a Windows PC, this icon is located at the bottom right of your taskbar next to the clock. Depending on your connection status you could see one of the following icons:  or or
|
| Connect to the TP-LINK_Extender_2.4GHz. | 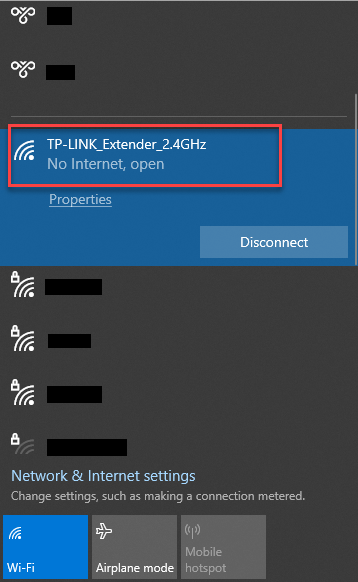 |
| Configuration | |
|---|---|
| Open a web browser and enter one of the following in the address bar and press enter: |
 or or
|
| Create your administrative password and take note of it. Once completed click Start. | 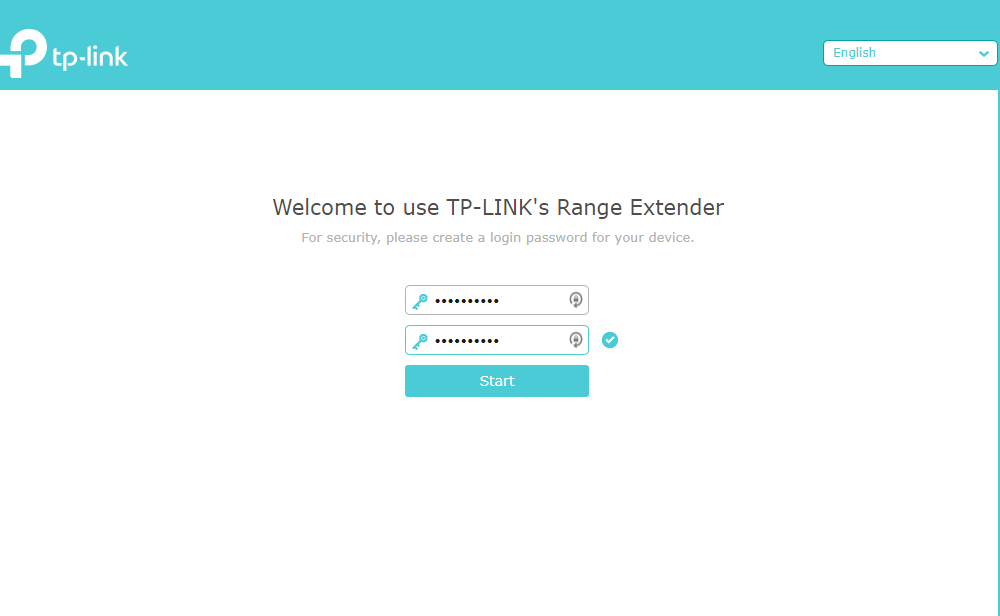 |
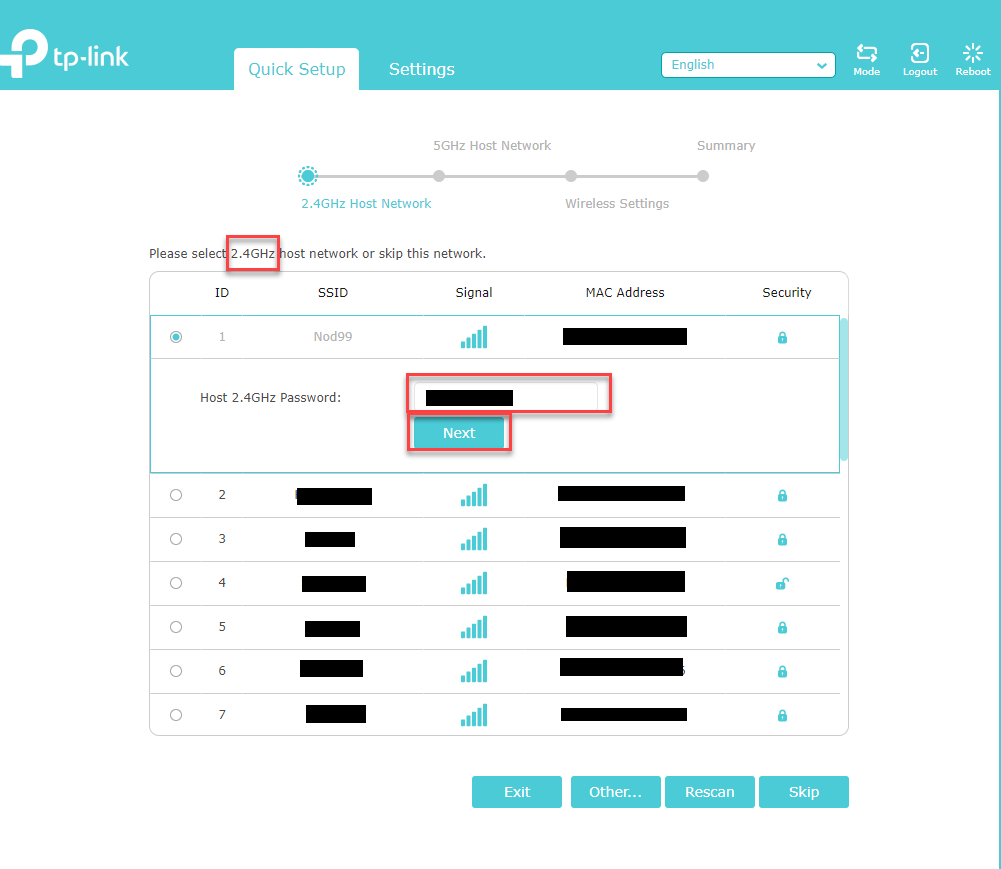
On the following page, you will need to configure the 2.4GHz network.
|
 |
On the following page, you'll need to configure your 5GHz network (Optional, PEARLs only works on 2.4GHz).
|
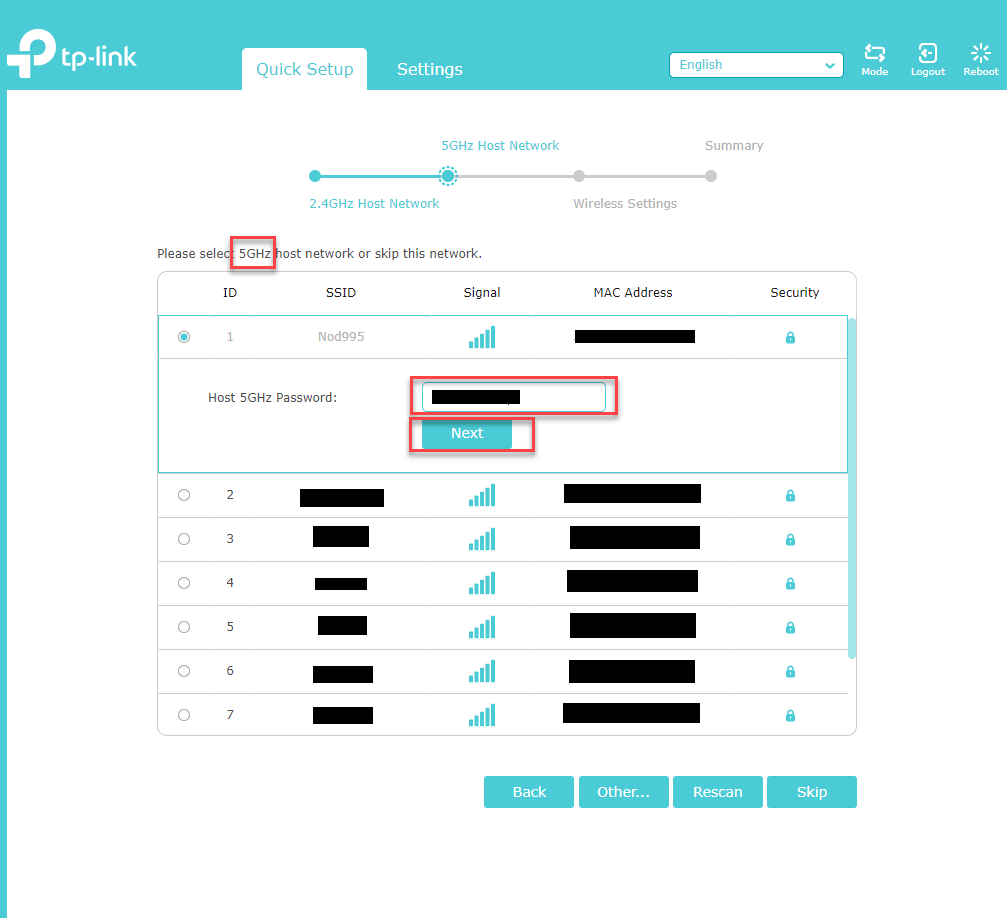 |
On the following page, you'll need to label your Extenders SSID for 2.4 and 5 GHz network
|
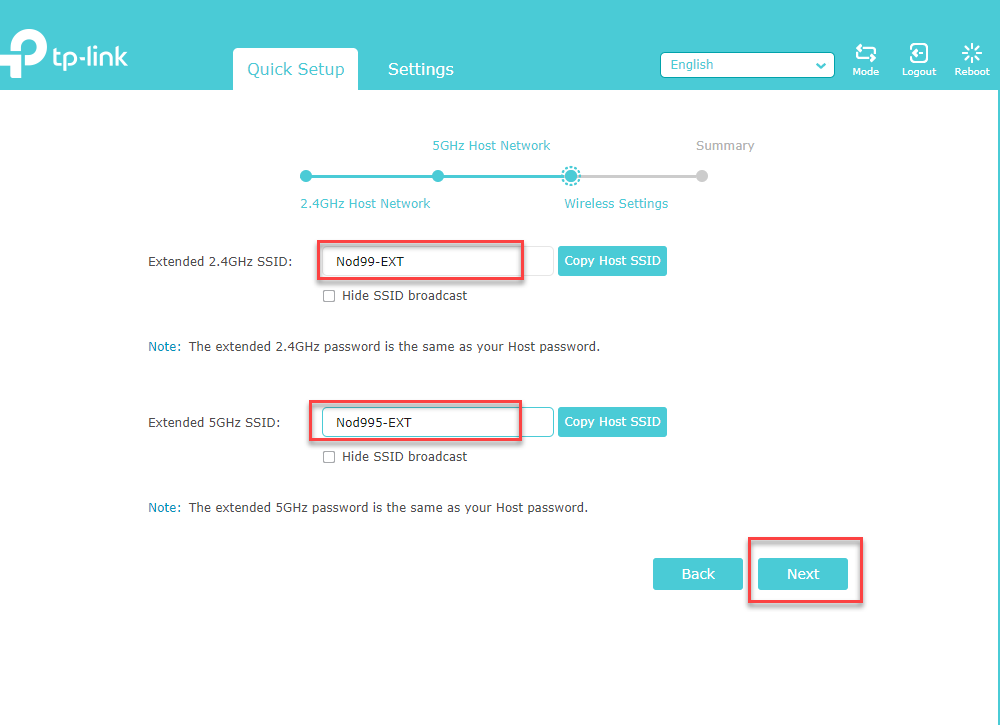 |
On the following page you'll have a summary of your configuration.
|
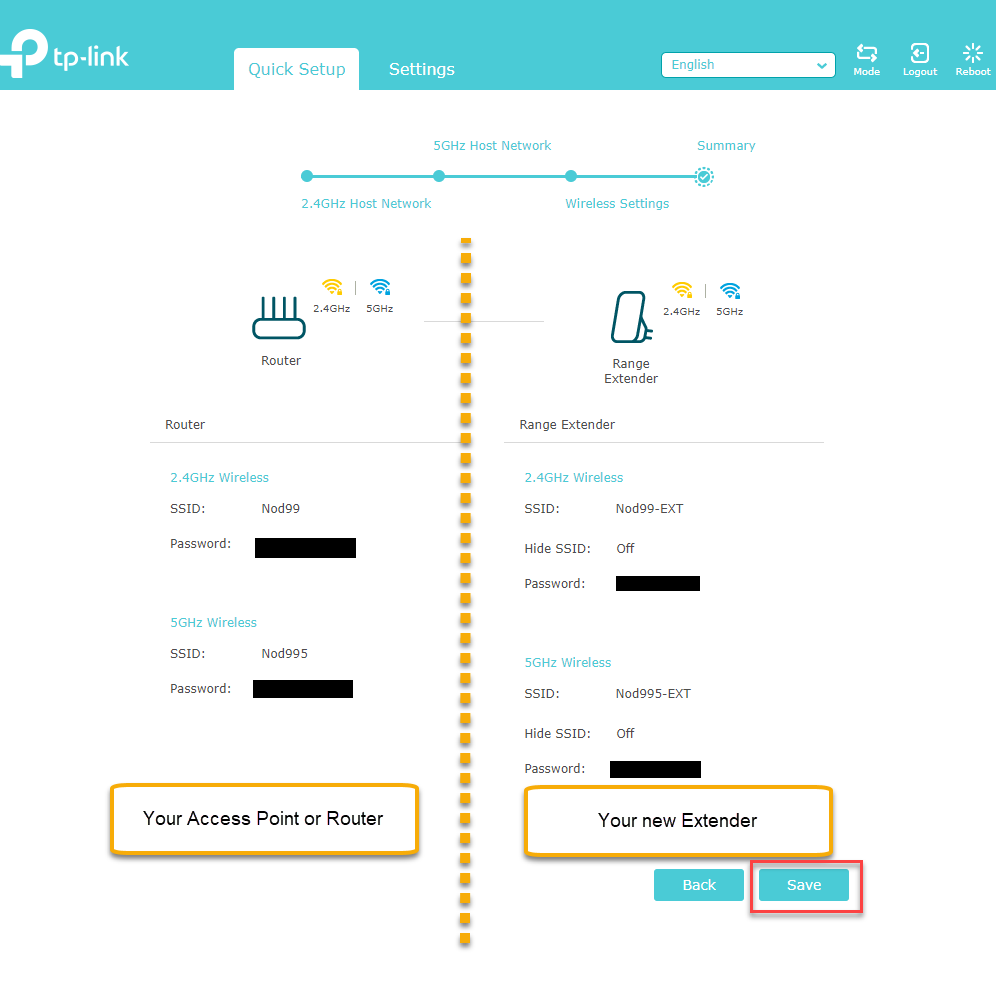 |
The TP-LINK Extender will now apply the setting and reboot.
|
 |
| Relocate the Extender | |
|---|---|
Plug the extender into a power outlet that about halfway between your router and the pearl(s)
|
 |
Wait until the signal LED is lit and solid blue.
|
 |
Reconfigure your PEARL(s)
| How to update the PEARL(s) Wi-Fi settings | |
|---|---|
| You've now completed the installation and configuration of your TP-LINK Extender. You can now connect your pearl(s) by updating their Wi-Fi setting. |
|
How to confirm PEARL's connection
| Confirming PEARL is connected | |
|---|---|
| Open a web browser and enter the following in the address bar and press enter: |
 |
On the TP-LINK page
|
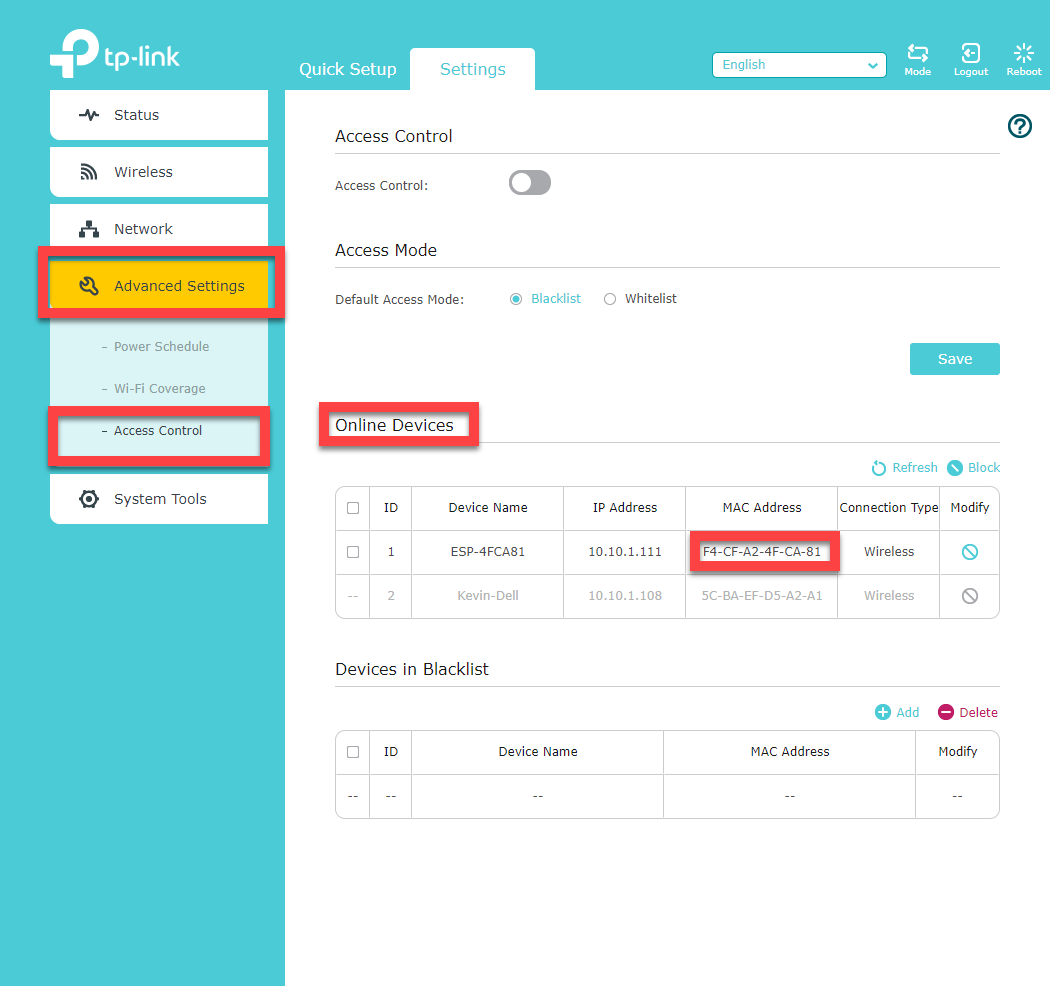 |
Where to find additional help
Here are some quick links: