Start counting with PEARL
Table of Contents
Getting Started Video
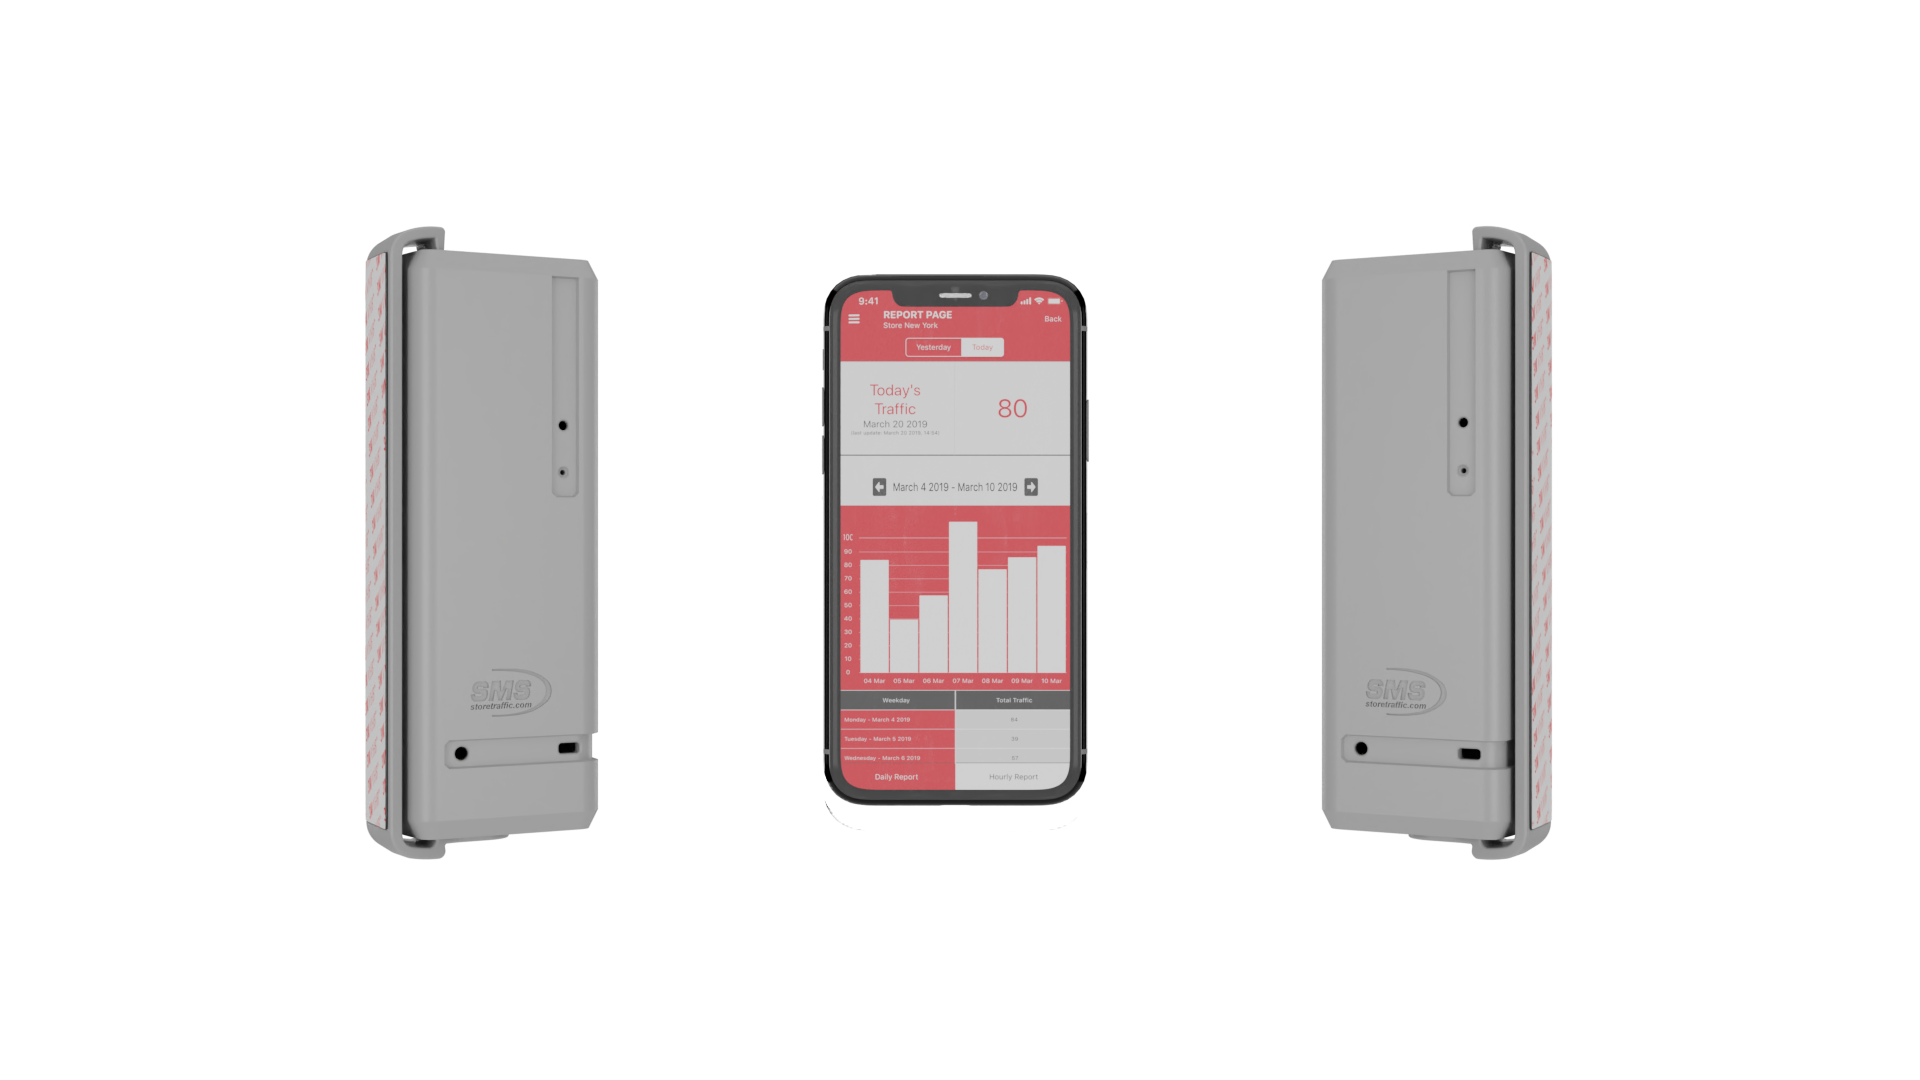
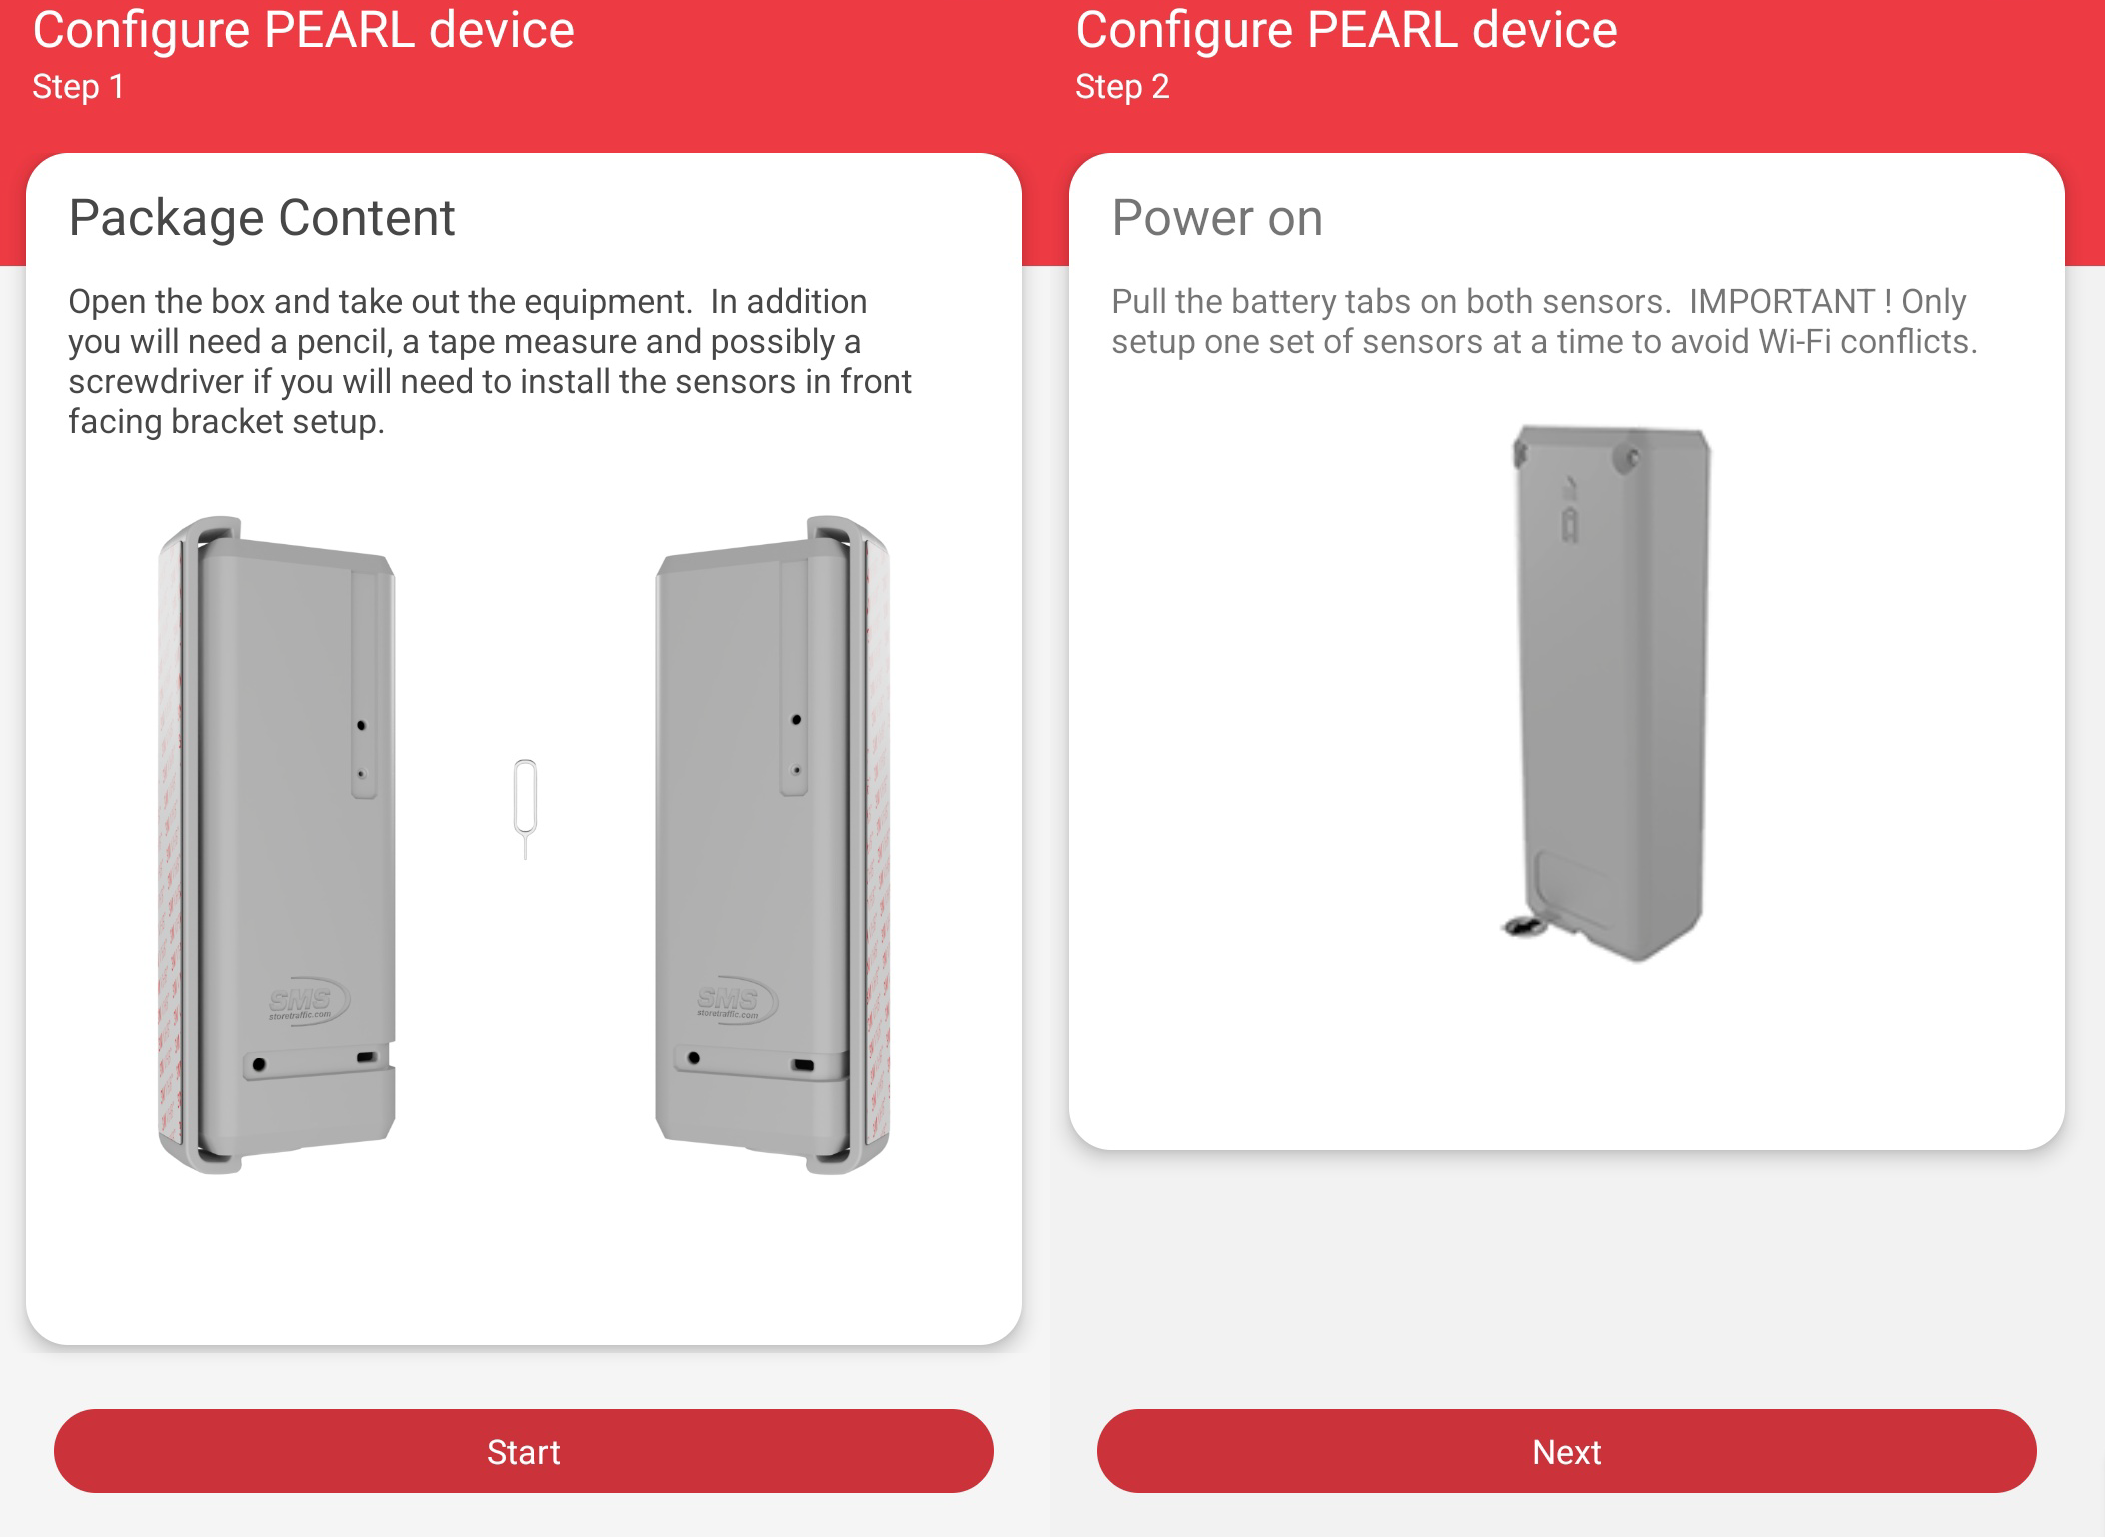
1. What's in the box and what else do I need?
- 2 Sensors - Main & Secondary (1 Pair per box)
- Sensor mounts (already attached for Side mounting)
- Instructions Card (Scan for tutorial video and free app from store)
- SMS Tool (Used to activate/reset sensors)
- 8 x AA Batteries (already installed in sensors, 4 in each sensor)
- Screwdriver (Optional - Required only if need to configure in front facing)
- Pencil and Tape measure (Used to measure and mark mounting position)
- Mounting Hardware (Optional - Required only if not using the 2-way sticky adhesive already on the sensor mounts)
2. Download Smart App, Login and setup company
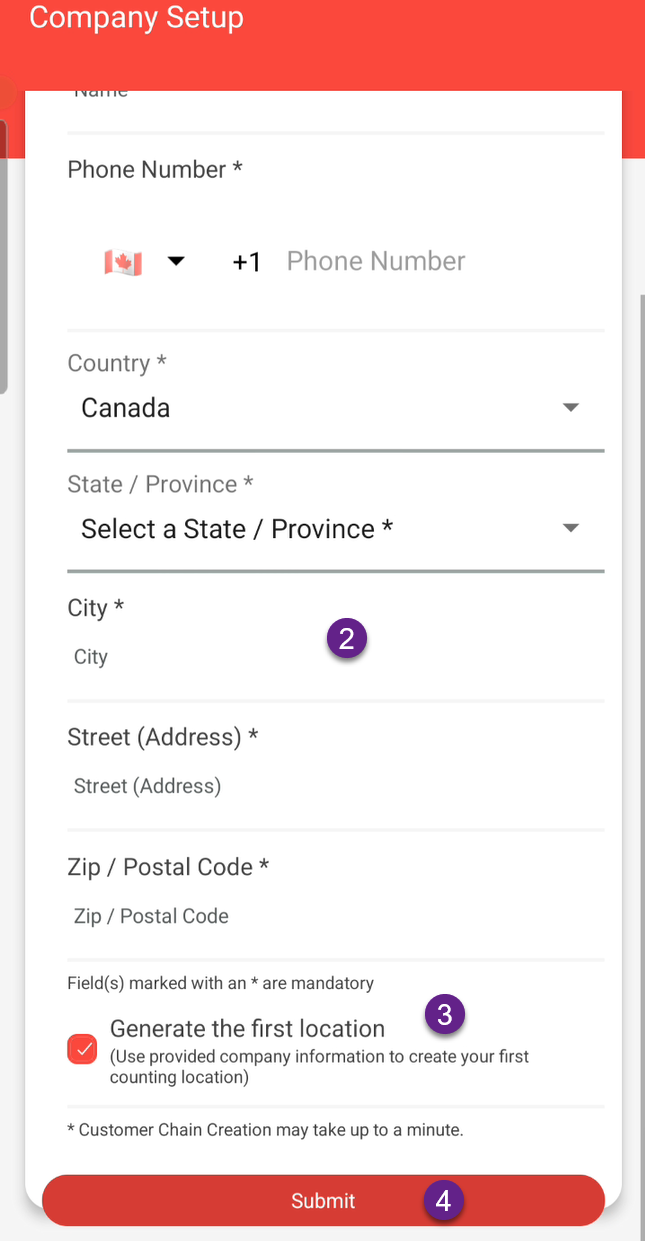
Creating an account/company setup in SMS Smart App
Creating an Account Launch the Storetraffic App previously downloaded Select Cre...
Welcome to the SMS StoreTraffic App Company Creation Guide
Setting up your company within the SMS StoreTraffic app is a crucial first step in harnessing the power of precise foot traffic analytics. Whether you're looking to optimize daily operations, enhance customer experiences, or streamline your staffing needs, our platform is designed to facilitate these goals with ease. This guide provides a straightforward, step-by-step process to help you create your company profile, enabling you to take full advantage of our robust analytics tools. Follow these instructions to set up your company quickly and start making data-driven decisions that propel your business forward.
Requirements
- Downloaded App
- Created an Account
- Company has not been previously setup
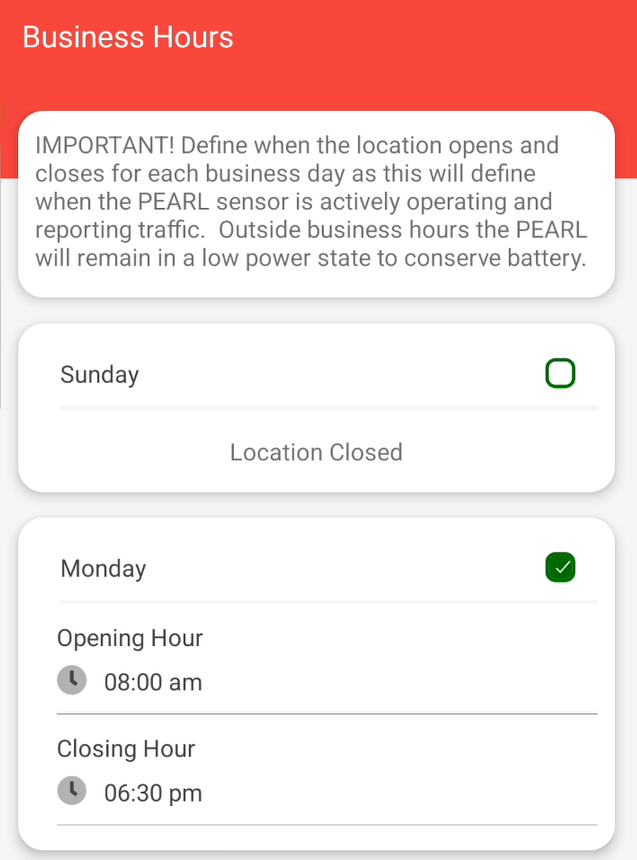
Company Setup / Business Hours | |
|
| |
|
 |
 | |
 | |
Company Setup F.A.Q. | |
| Q: How do I edit my Company Information? |
A: Select Edit location from the Location options next to the location you would like to modify. 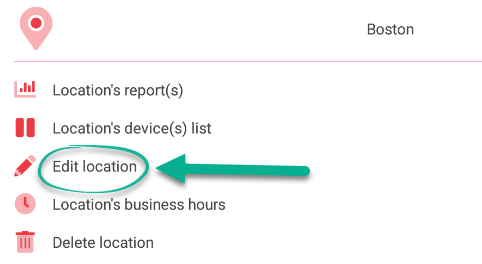
|
| Q: Do I need to make an account for every location? | A: A single account / login can create multiple locations. However if you do NOT have a TMAS subscription, the account is limited to simultaneous login on 2 devices at a time ONLY. With a minimum TMAS Standard subscription, there is no limitation on the number of users for a single account. Additional logins can be created through T.M.A.S. |
| Q: Do I need to make a location for every device? | A: For reporting purposes a location should be defined as a group of devices as it will show the sum of traffic of all linked devices on the particular location. |
| Q: Where can I download the Free App? |
A: iOS Android |
|
Q: I am not receiving account creation /password reset emails. |
A: A: Learn more here. |
3. Adding the Pearl Device
|
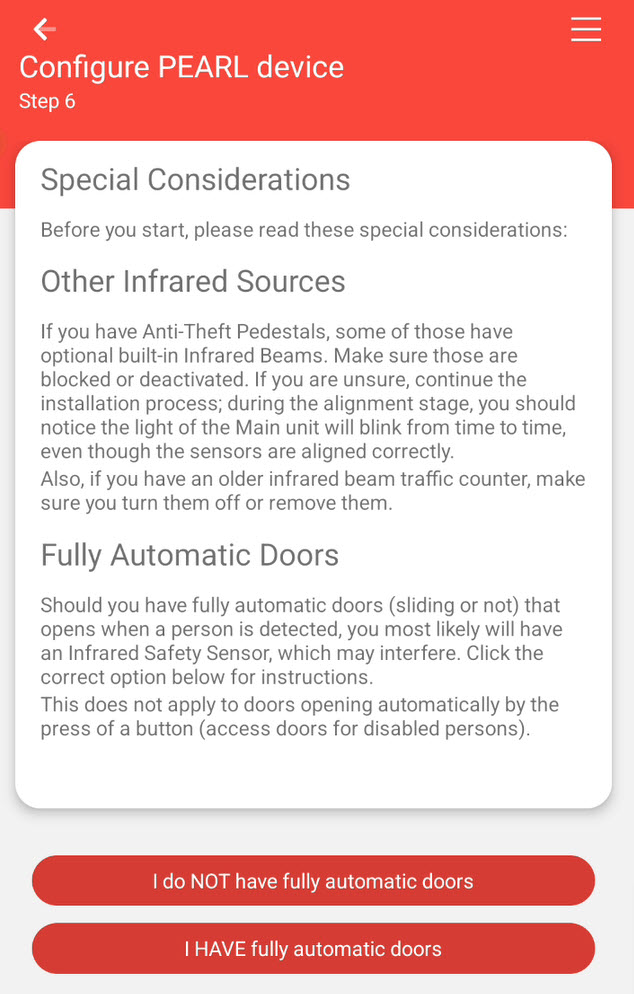
BEFORE ADDING THE DEVICE : Please read the following article on the best practices for physical installation |
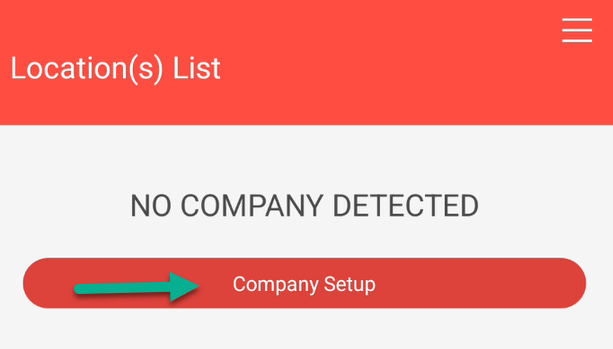
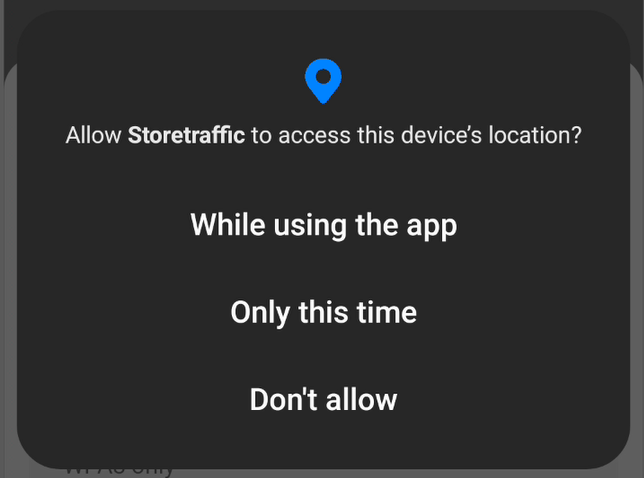
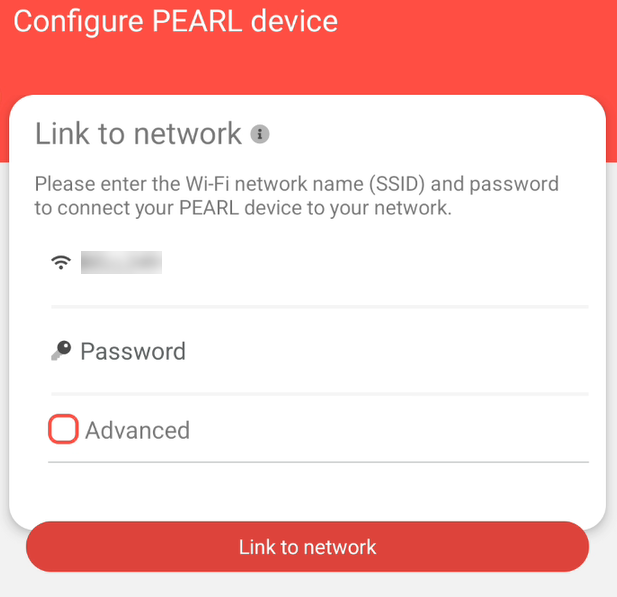
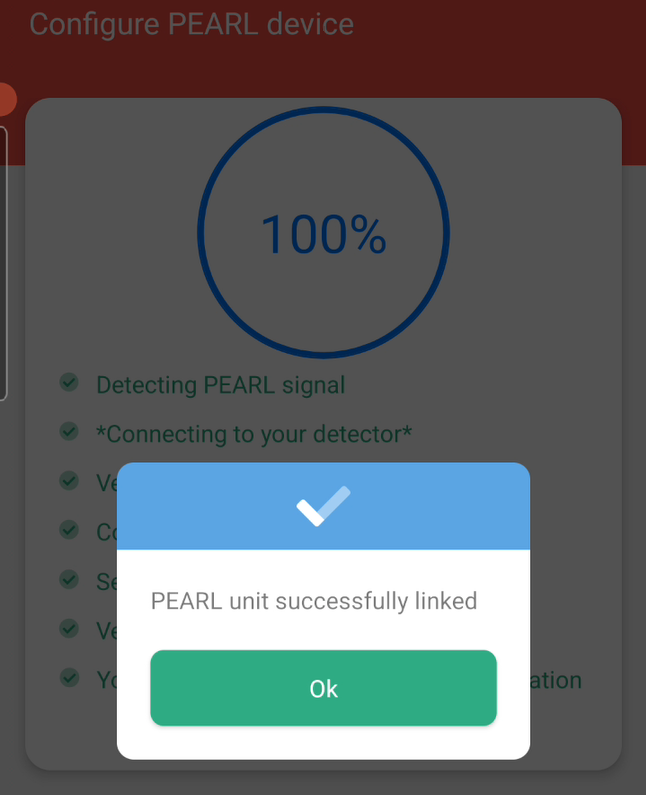
Adding Devices in the SMS Smart App
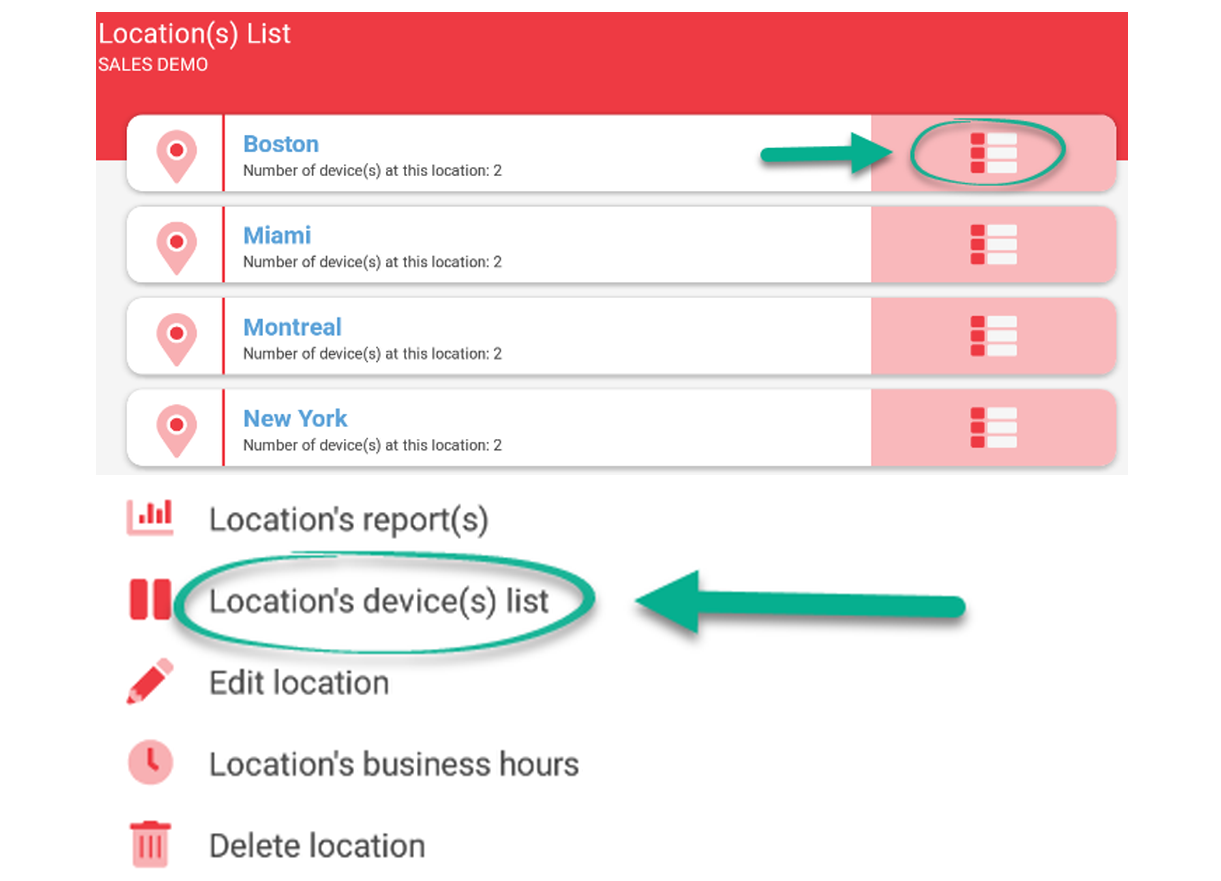
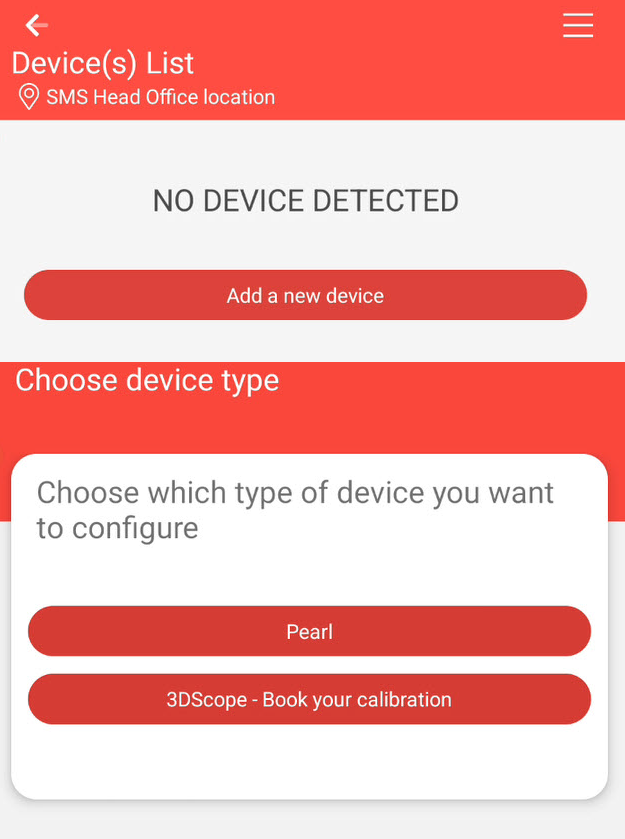
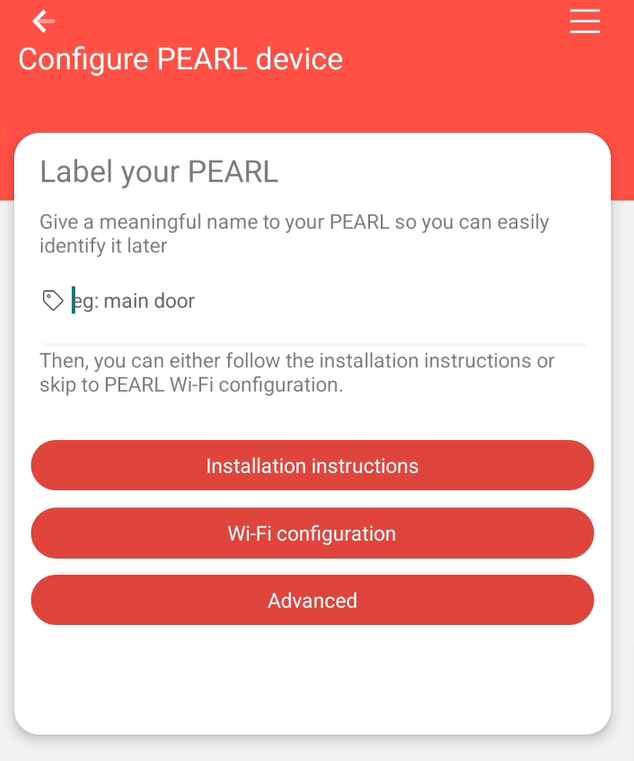
Adding a device Launch the SMS Smart App. Select a location from the Location(s) ...
Adding a device | |
|
| |
|
|
FAQ
Q: I have added my first device and need to add more. Does a new account need to be created for each subsequent device?
A: No...add your new PEARL unit(s) to your existing account on the App or in T.M.A.S. directly.
Pearl Installation F.A.Q.
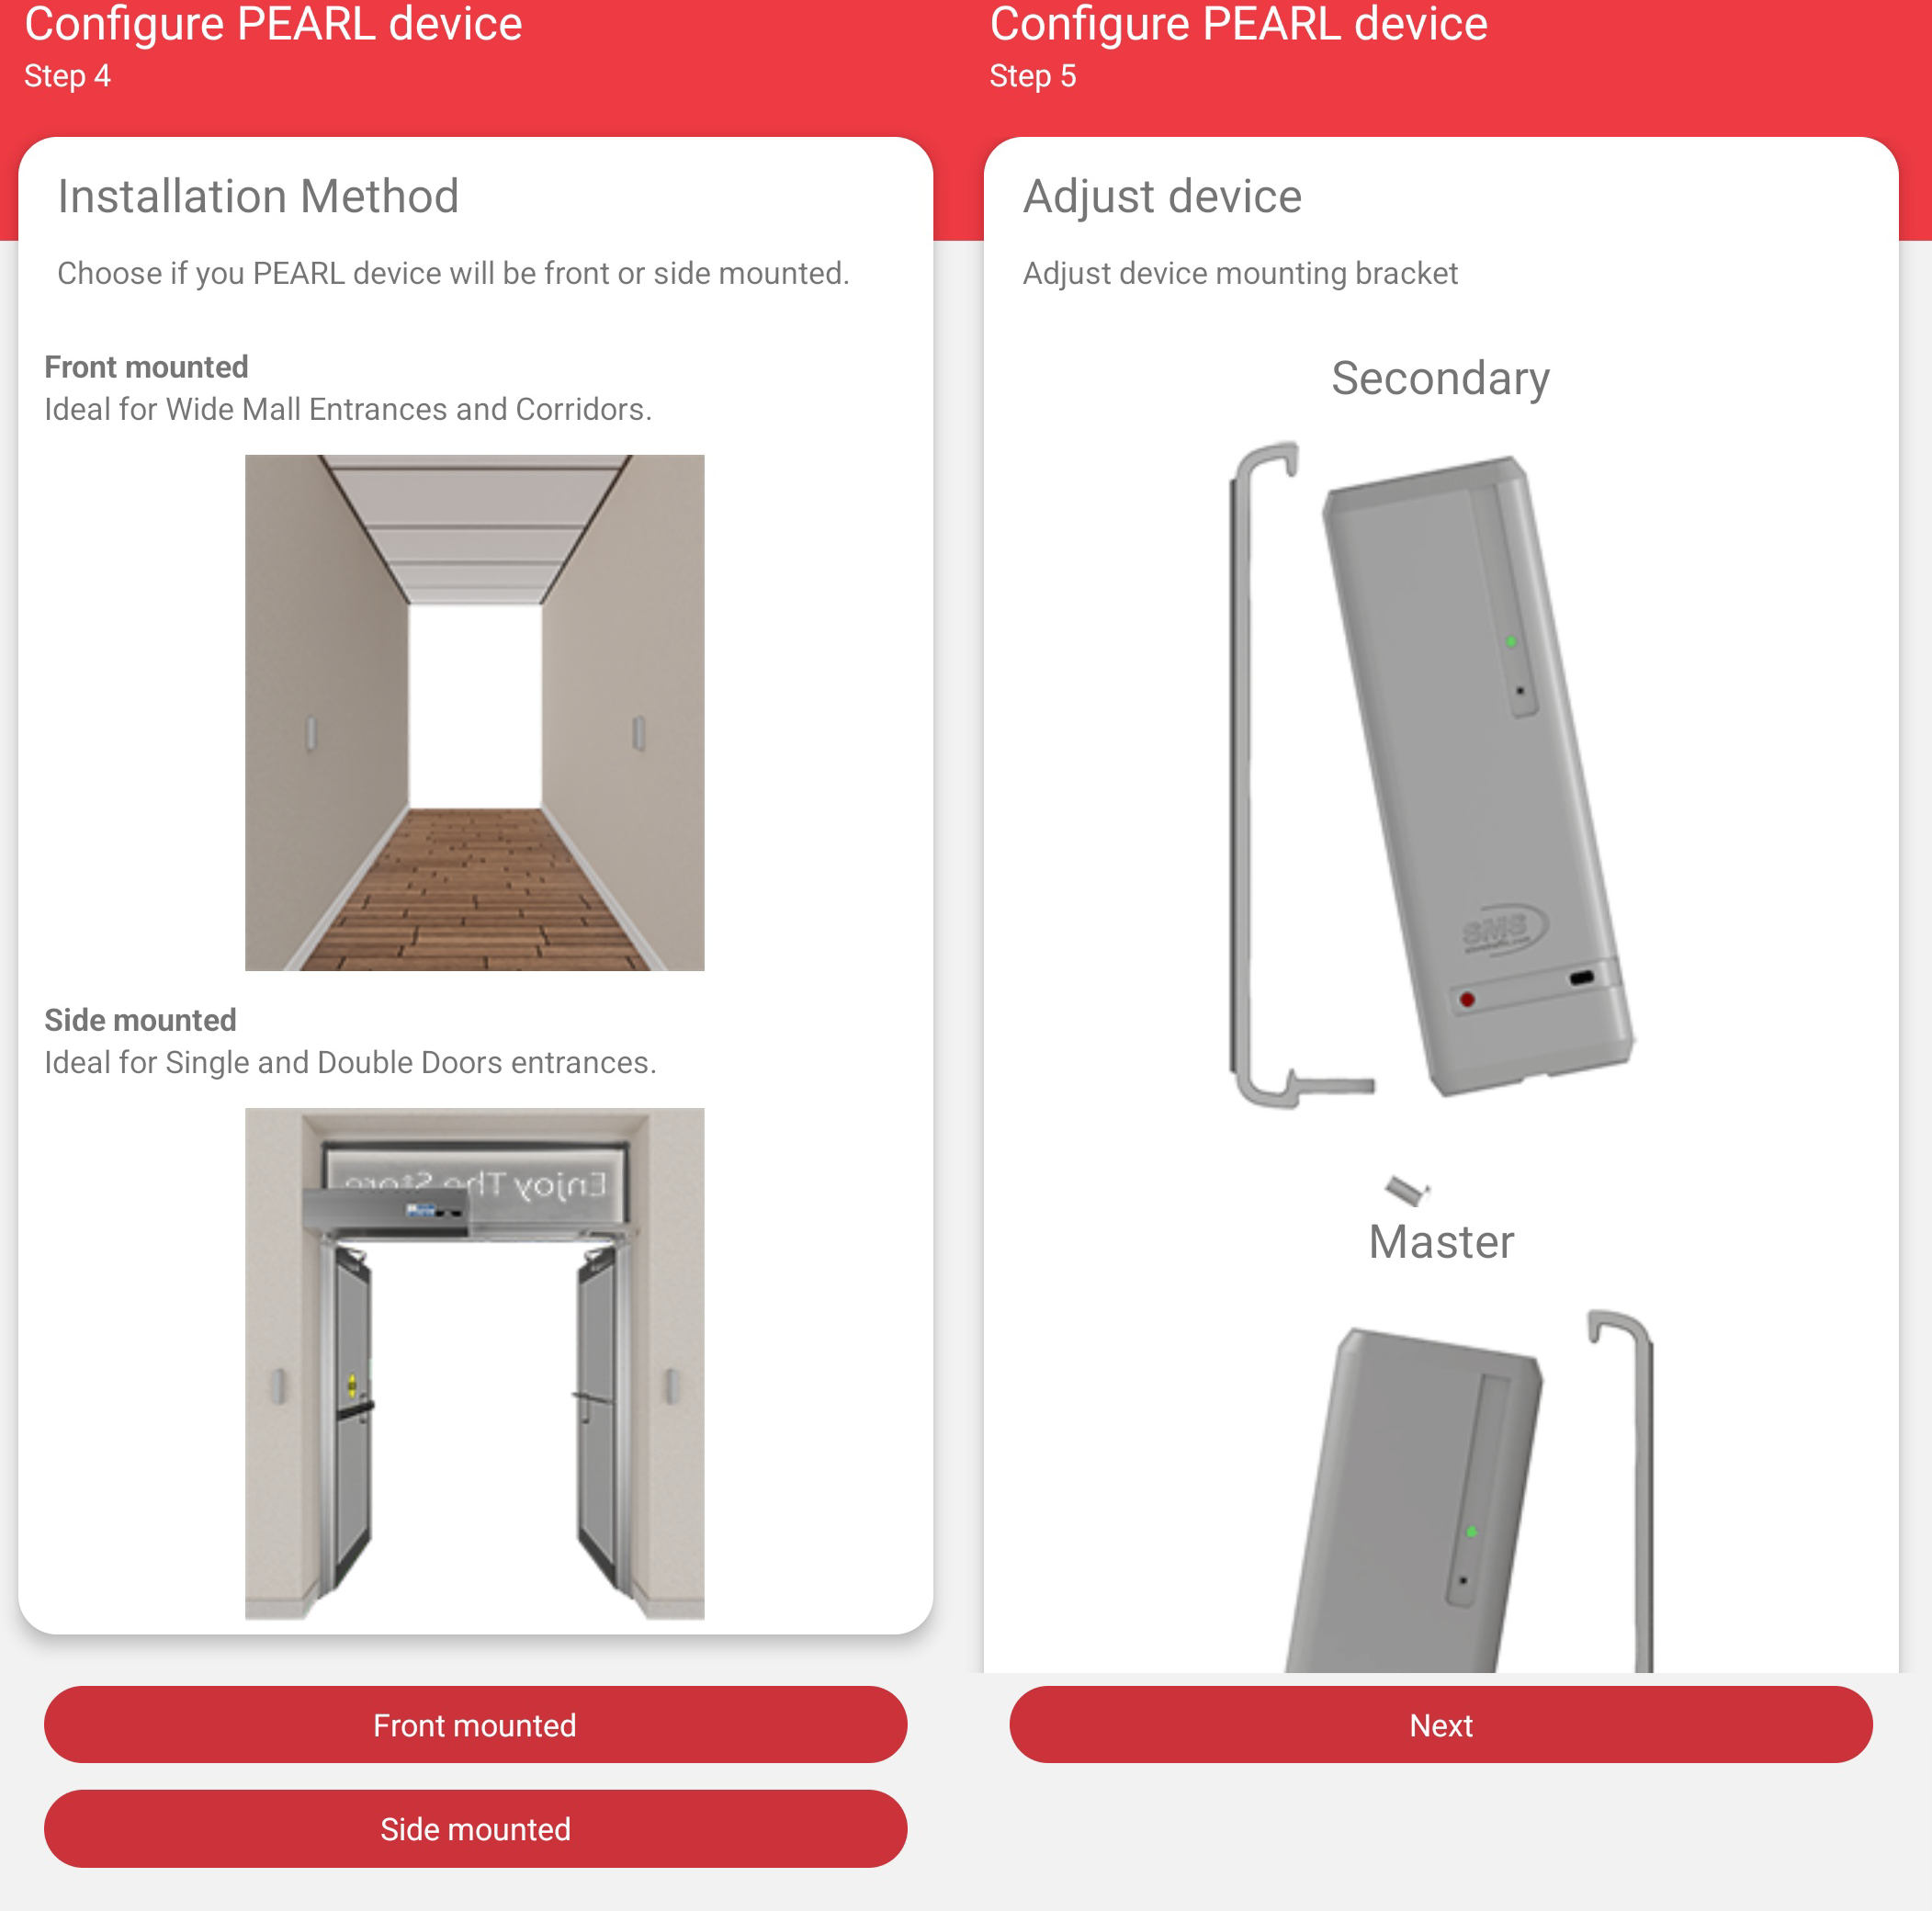
Q: At what height should the sensors be mounted at?
A: The PEARL counter should be mounted at approximately 54" inches (137cm) for Adult ONLY counting.
If you wish to also include children in the count, then mount the counter at 24" inches.
Note : mounting at a lower height may also include counts from carts, strollers and objects higher than 24" passing through."
____
Q: How wide an entrance does the PEARL counter cover?
A: The PEARL counters can cover an entrance as wide as 15 Feet (approx. 4.5m), Should you require a wider coverage, consider our 3DScope counter.
____
Q: Does the PEARL counter work through glass?
A: The PEARL counter requires an unobstructed view in-between the sensors in order to count accurately. Glass can have different tint, thickness or reflective properties therefore making NOT the recommended counting technology. Ask us about our 3DScope counter.
____
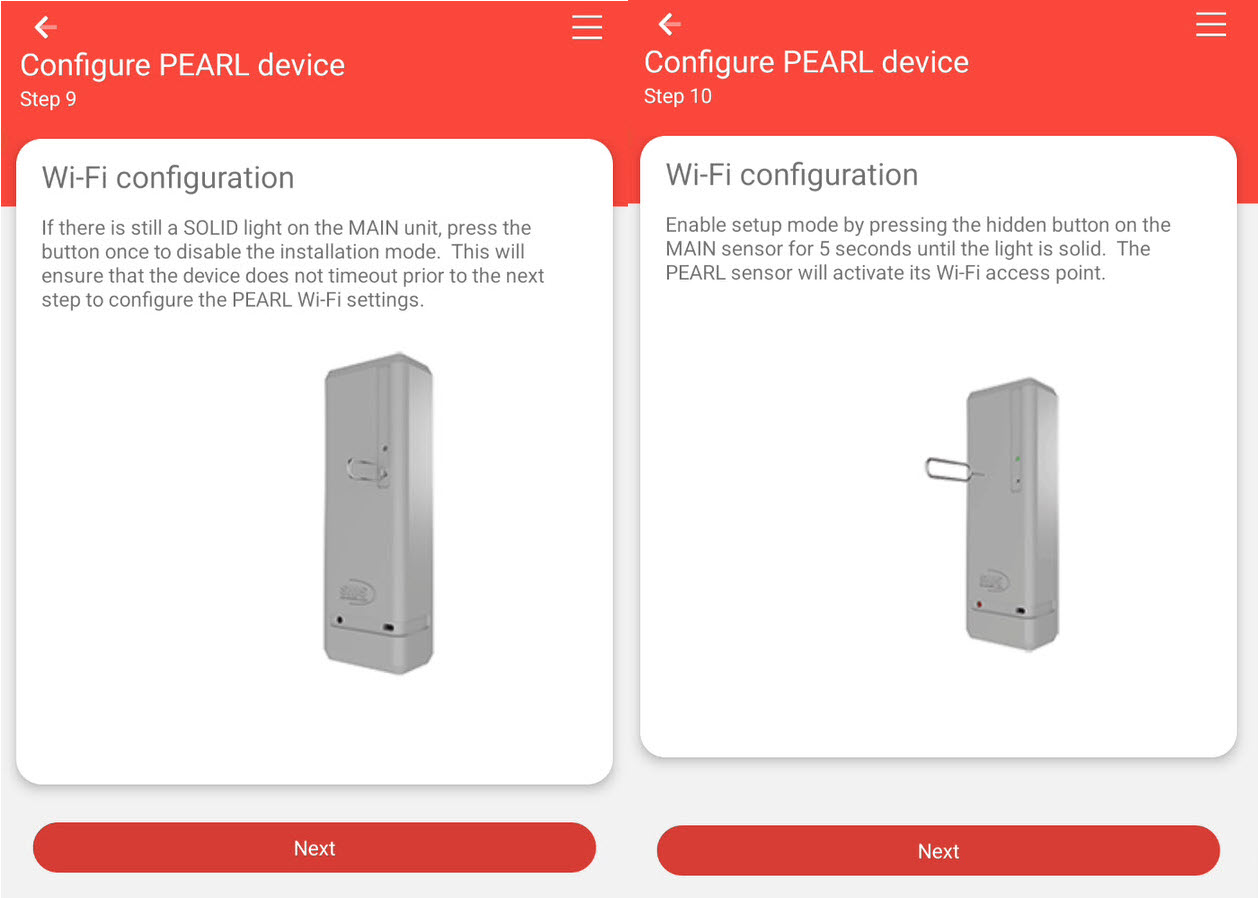
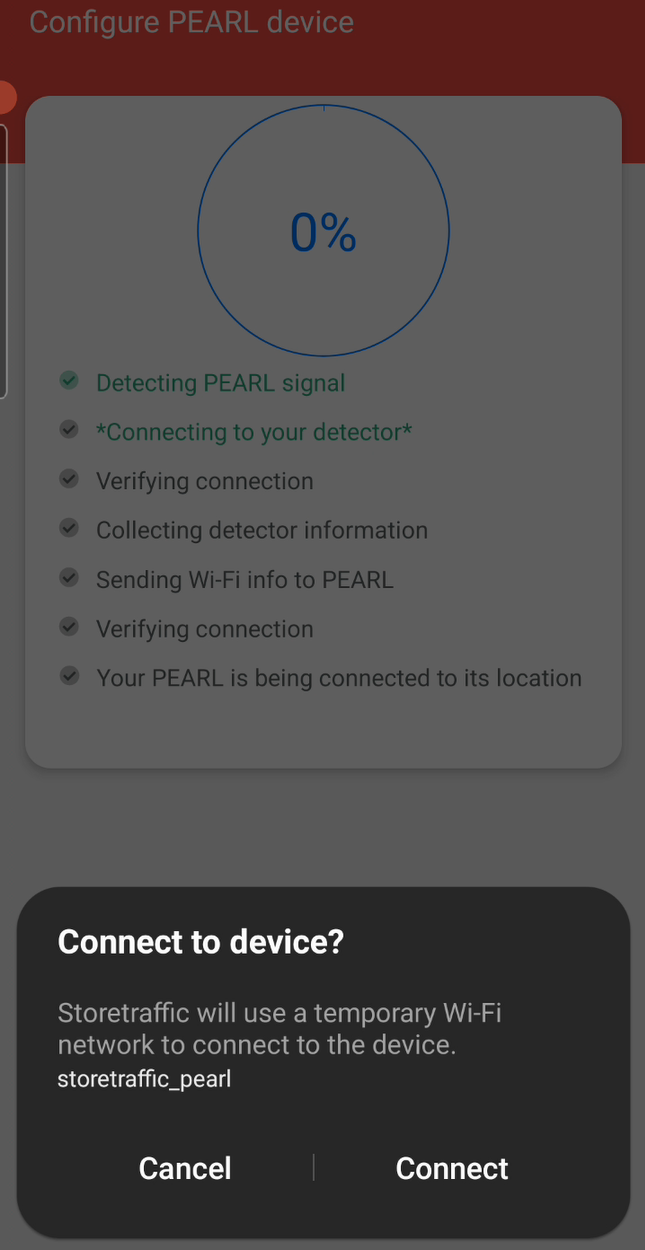
Q: What can I do if the Wi-Fi signal at our entrance is not strong enough for the PEARL?
A: You would need to possibly add a Wi-Fi extender. Click here to learn more about extenders and PEARLS
____
Q: I have added my first device and need to add more. Does a new account need to be created for each subsequent device?
A: No...add your new PEARL unit(s) to your existing account on the App or in T.M.A.S. directly.
____
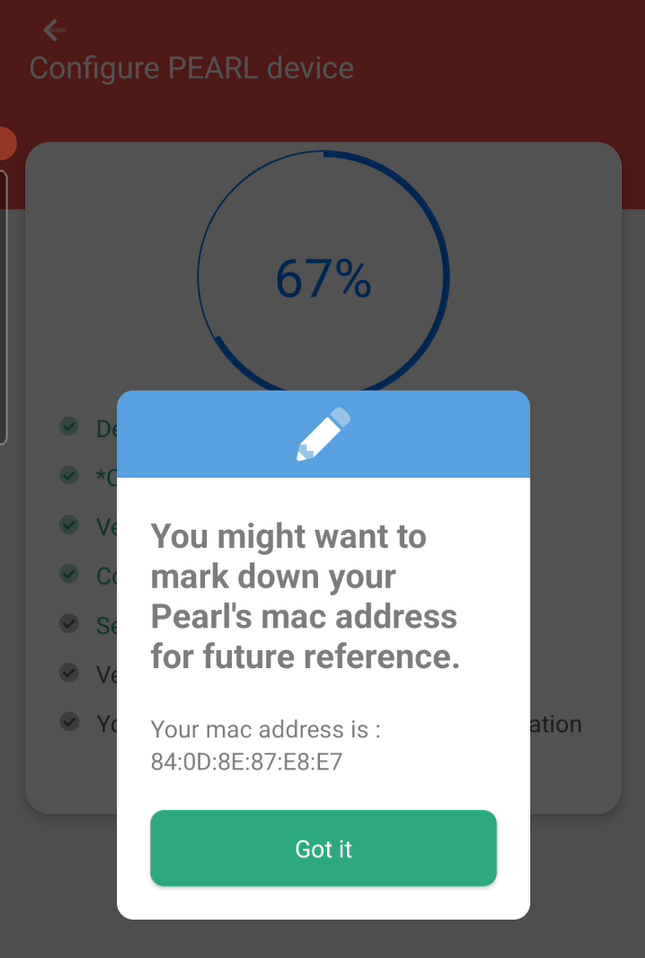
Q: I am getting stuck at 67% when doing my PEARL setup
A: Please update to latest version of SMS Storetraffic app. The issue has been resolved with app version 178.02)