TMAS - STC W200 - How to add to equipment inventory
How to add to equipment inventory
Table of Contents
Overview
This articles provides the user with steps to verify and setup communication between the T.M.A.S. Software and STC-W200 traffic counter.
Prior to adding to equipment inventory requirements
- STC-W200 is powered and connected to the network
- STC-W200 is programed with a local LAN IP, Subnet and Gateway of the store/location network
- For more Info: Click for Process
- Port 502 is open on the store firewall and any other network security layer incoming from the TMAS Server
- For more Info: Click for Process
Accessing Equipment Inventory
User must have proper permissions to access the configure section.
- Login to TMAS
-
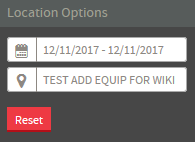
Select location from location options that the equipment will be added to.
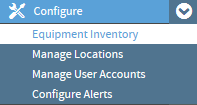
- Select Configure from the Main Menu
-
Select Manage Locations
How to add an STC-W200 to Equipment Inventory
There are 2 different steps required.
- The STC-W200 device must be added to the equipment inventory
- Any Existing DBRF wireless sensors covering an entrance that send counts to the STC-W200 device, must also be added.
Adding the STC-W200 Device
In the EVENT of any error, refer to the troubleshooting section at the bottom of this article
- Access equipment inventory
-
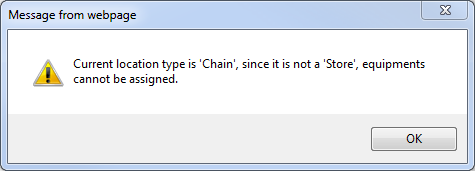
Verify that a store location has been created and selected to add the equipment. (A message will appear advising if a store has NOT been selected.)
-
Select Add
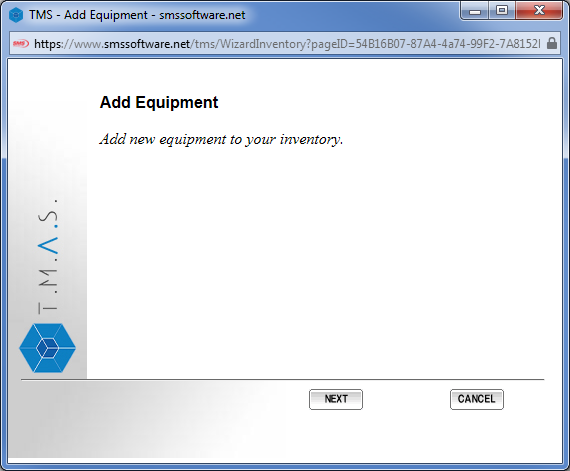
- Click Next
-
Bullet Device for Equipment Type
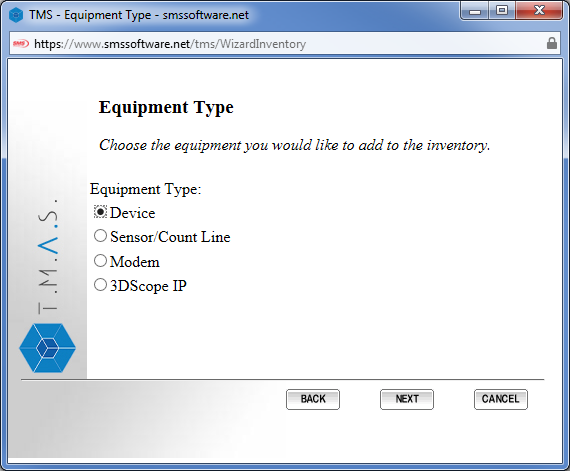
- Click Next
- Bullet Through the network
-
Enter IP Address / Hostname
- IP Address: Recommend using a STATIC PUBLIC IP of the location, NOT the internal LAN IP configured into the STC-W200. To obtain verify what the WAN IP typically found on the status page in most routers, otherwise from a PC in the location connected to the same network as the STC-W200 go to the following website www.whatismyip.com.
- Hostname: a Public Dynamic DNS name for the store network may also be used instead of a Public IP address. Recommended for any location which does not have a STATIC PUBLIC IP from their ISP setup for the location. You can use a company like NO-IP to provide this service, if intrested check them out - http://www.noip.com/support/knowledgebase/getting-started-with-no-ip-com/
- Enter Port 502 - Default (alternate ports will be accepted in the event a IT security or ISP requires it, however the STC-W200 can only listen on port 502)
-
Check make a communication test
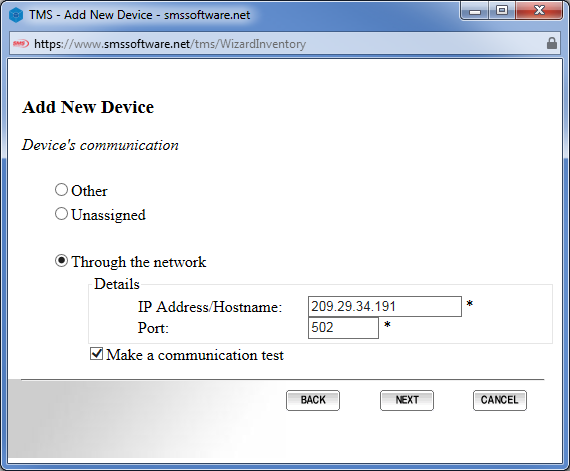
- Click Next
-
Complete Device Information
- Input Name for the device: Example STC01
- Select Model = STC-W200
- Status: Fully Operational
- Description: useful for notes or where to locate the STC-W200 in the store.
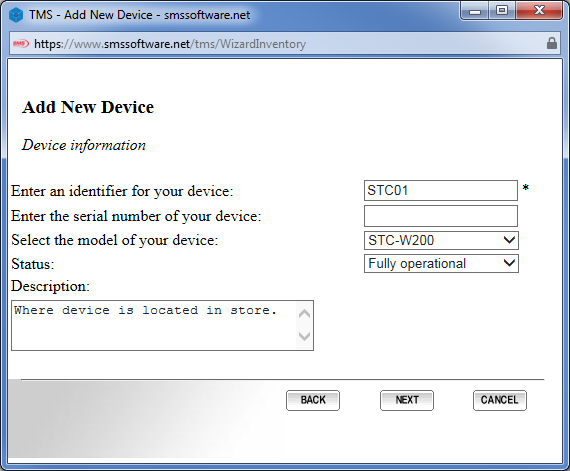
- Click Next
-
Select Intervalfor your Device
- Interval affects the memory of the STC, by default the STC is configured for 60mins. However if you desire
- Select Time zone of where the device is located
- Verify Location for the device to be associated. (Location selected previously should already be shown)
-
Input Date of installation for the STC-W200
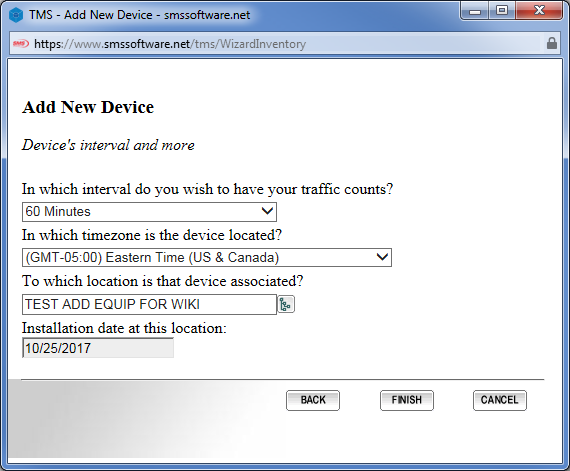
-
Click Finish
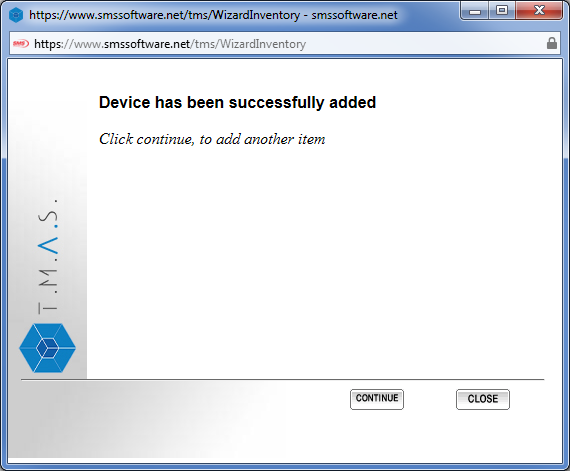
-
Verify the device appears in the equipment inventory

Adding the DBRF1501 wireless sensors
In the EVENT of any error, refer to the troubleshooting section at the bottom of this article
- Click Add
- Bullet Sensor/Count Line
-
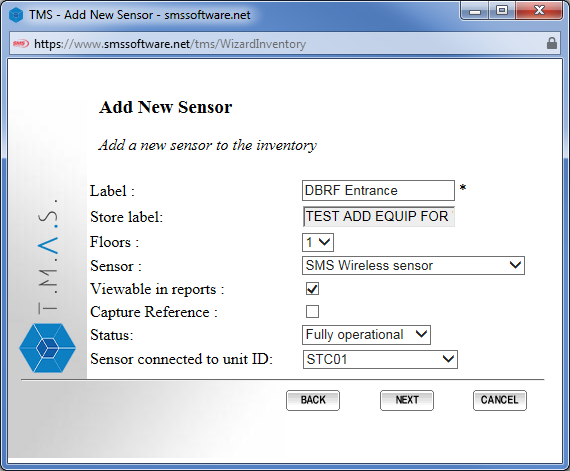
Complete Sensor Information
- Sensor Label : typically the name of the entrance it is covering
- Store Label : Read Only Field which displays the name of the currently selected location
- Floors : Indicate which floor the sensor can be found on.
- Sensor: Select SMS Wireless Sensor
- Viewable in Reports: Check if you would like counts from this sensor to appear on reports that also use Sales and Transactions.
- Capture Reference: Check if this sensor is being used for Pass-By Traffic and NOT entrance traffic.
- Status: should remain fully operational.
-
Sensor connected to unit ID : Select the STC-W200 device that the sensor is synced to.
- Click Next - Note: A message may appear if you are adding a device to equipment that does not have functional communication with TMAS.
-
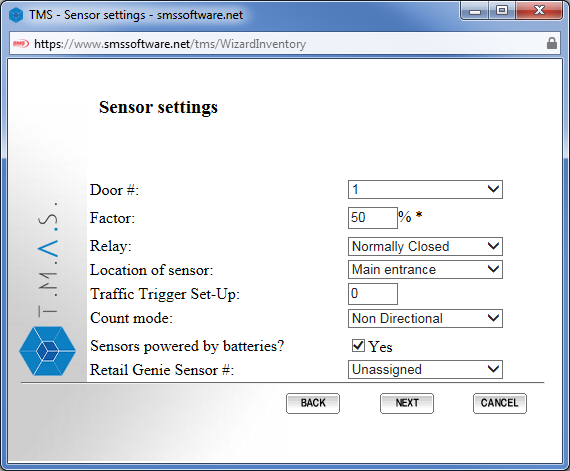
Complete Sensor Settings
- Door #: Select Door # that the sensor is synced to on the STC-W200
- Factor: Select 50% - Default
- Relay: Select Normally Closed - Default
- Location of Sensor: Select location description which applies.
- Traffic Trigger Set-up: input value ONLY IF using triggers in Manage Locations, otherwise leave blank.
- Count Mode: Select Non-Directional - default
- Sensors powered by batteries? Check Box Off since wireless sensors are always battery powered at the entrance.
-
Retail Genie Sensor #: If using TMAS, select Unassigned. Otherwise if using the Retail-Genie application, select the # which corresponds to the Door #:
- Click Next
-
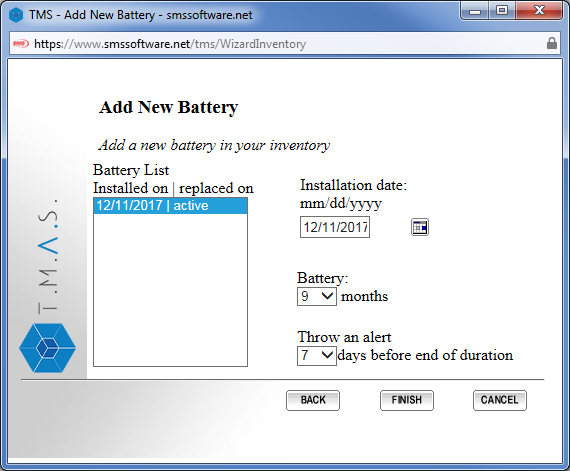
Complete Battery Info
- Select Installation Date of Sensors
- Indicate battery lifespan (recommend 9 months, may change depending on traffic at entrance.)
-
Throw an alert: Select how long would be required to order replacements and have the battery changed.
- Click Finish
-
Verify the sensor appears in the equipment inventory

Verifying, Testing and Troubleshooting STC-W200 device communication In TMAS.
The TMAS software will test the communication using the supplied Public IP / Hostname (DyDns) as well as port configured for the STC-W200 device.
To diagnose a communication problem, you should proceed as follows.
- Launching a communication Test
- Review the communication settings
- Verify settings outside the TMAS application are working as intended to establish communication.
LAUNCHING A COMMUNICATION TEST
- Select Location
- Select Configure
- Select Equipment Inventory
-
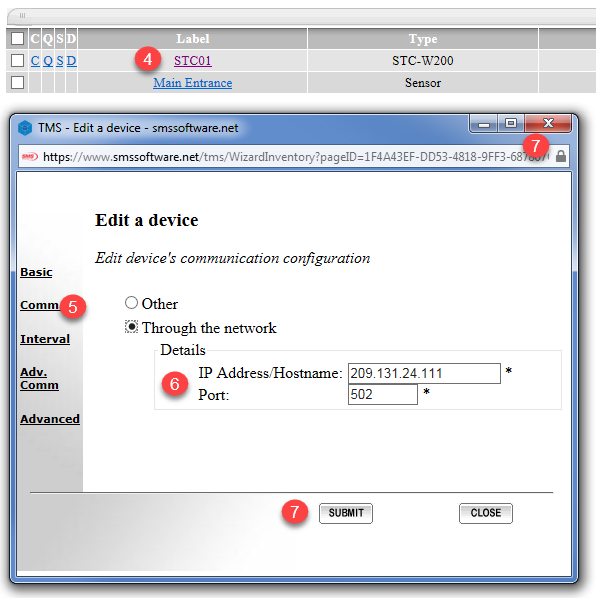
Click on the "C" icon next to the Device

-
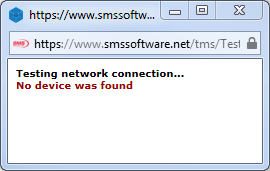
A window will appear displaying the test in progress as well as the results.
- Communication in Progress - Result Blank Window

- Communication Successful - Result "Device Found"

- Communication Failed - Result "No device was found"
- Communication in Progress - Result Blank Window
To review the communication settings and/or make changes proceed as follows.
- Select Location
- Select Configure
- Select Equipment Inventory
- Click on the Device Label to access the device settings
- Select Comm.
- Verify Information listed under Through the network under details. Make any changes required by editing the fields for IP address/Hostname or Port
-
If changes were made, click submit and a communication test will occur, otherwise if no changes are required close the window by the X to avoid a communication test.
Verify settings outside the TMAS application are working as intended to establish communication
Successful STC-W200 communication requires the following.
Overview:
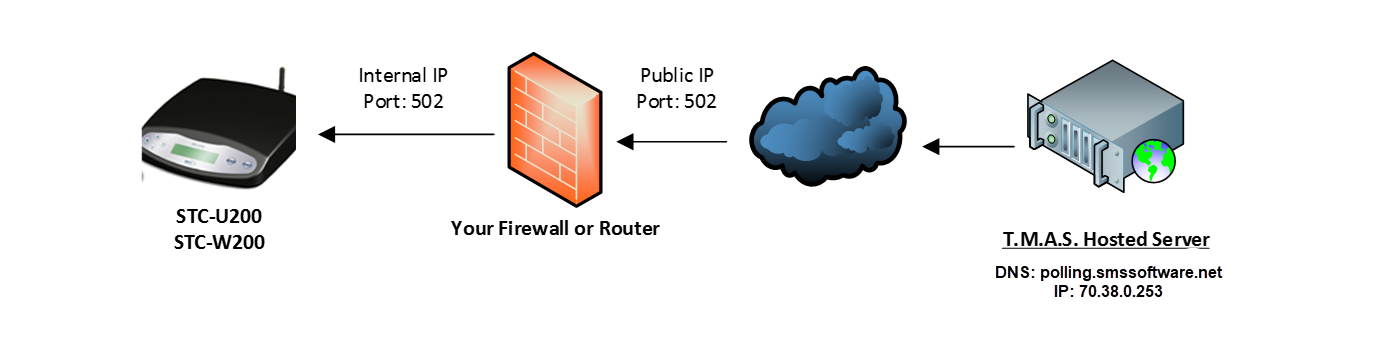
The STC-U200 or W200 device can only accept incoming connections on port 502 from compatible SMS software for traffic reporting. T.M.A.S. requires the ability to connect to the STC each hour (or 30min) in-order to retrieve the traffic from the previous hour to populate the reporting.
Steps to allowing TMAS to communicate with the STC:
- Program an IP, Subnet and Gateway of the store network it is located at into the Unit. Preferable a non-used Static IP that will not conflict with other equipment in the location. Refer to the STC-U200/W200 user manual for steps on this. Click for Process
- Connect - STC needs to be wired to the network by a patch cable. Any available network port on a hub, switch, router will do, unless otherwise directed to use a specific port advised by your network administrator.
-
Open - Port 502 TCP incoming from TMAS Server [www.smssoftware.net] on the network router/firewall. The TMAS application CANNOT configure your router automatically. For Steps - Please refer to your Router / Firewall user guide, IT Network administrator, or Internet Service Provider contact to set this up. Please Note that SMS Storetraffic.com does not provide support to setup this configuration.
- PortForward.com may have a helpful guide on how to open the port on your router. As they offer guides on how to perform this is most routers existing today.
- www.yougetsignal.com offers a tool to verify if port 502 is open for your location using your Public IP.
- Update - TMAS Equipment Inventory with Public IP address or Dynamic DNS address for Store location. To verify these settings, proceed to the END of the following process. Click for Process