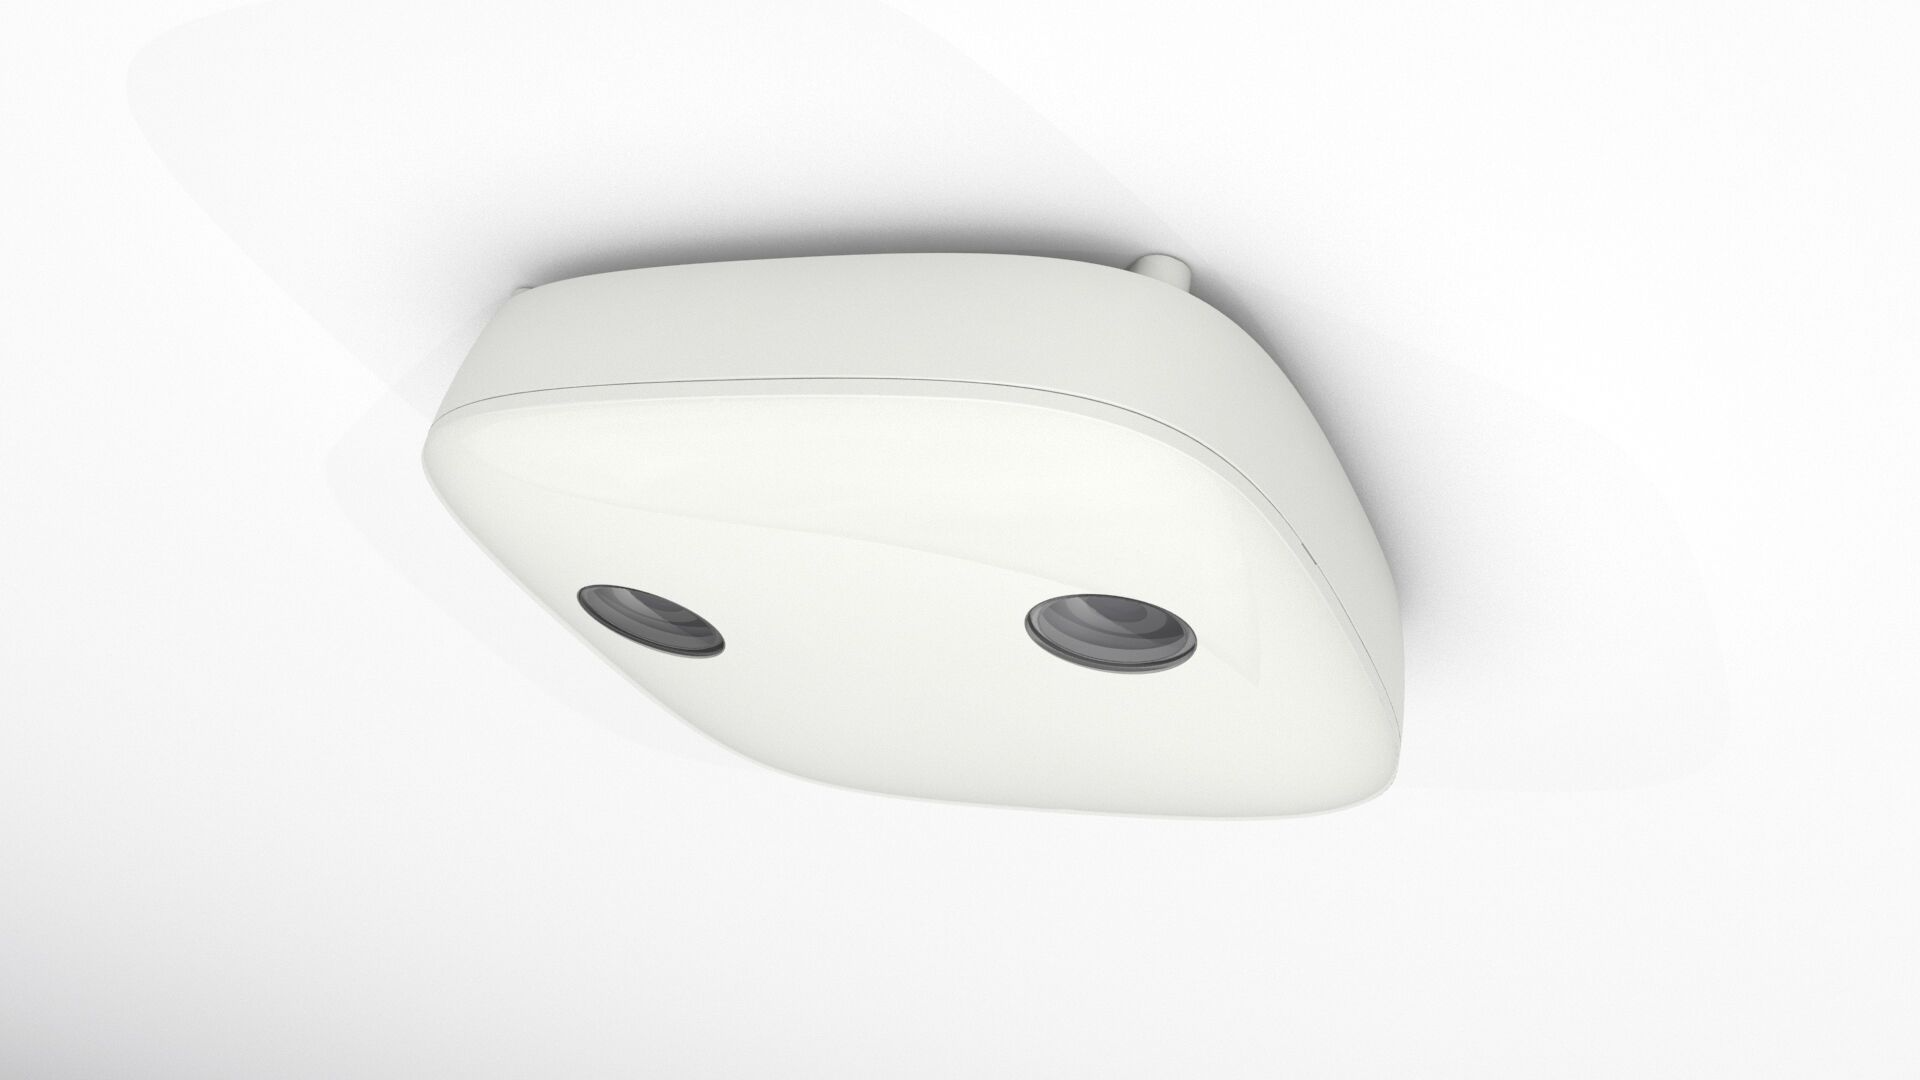
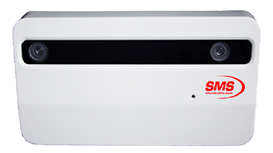
Installation of the 3D SCOPE II (LC and HC)
How to install
Table of Contents
Overview
This article describes the Installation process to mount 3DScope II traffic counters. As well as lists the tools, equipment and steps required to complete successfully.
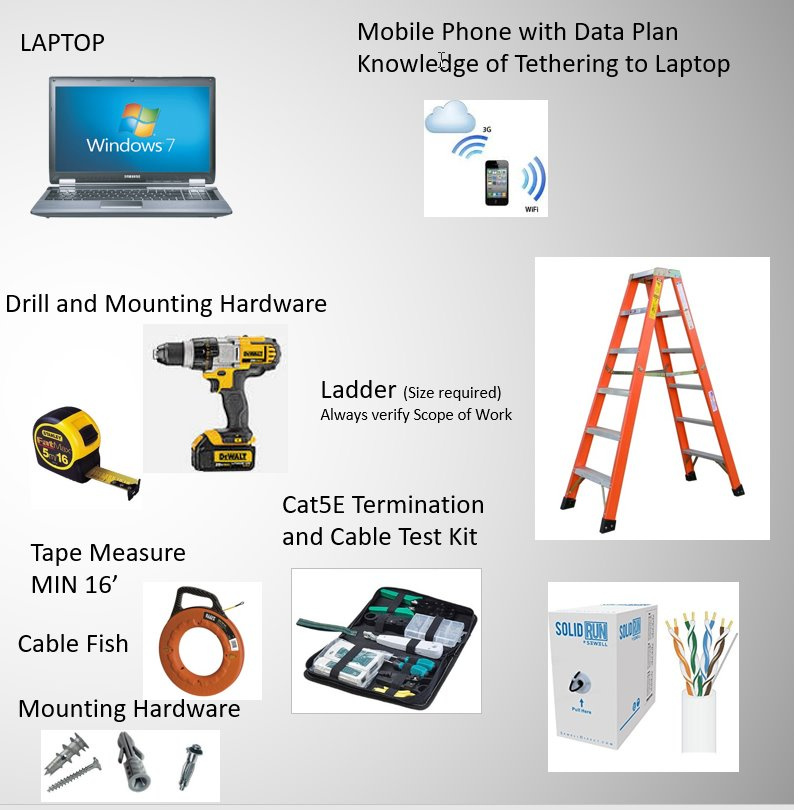
Tools Required
| 3d Scope II LC (Low Ceiling) | 3d Scope II HC(High Ceiling) |
 |
 |
Note* Mobile Phone with Data plan is ONLY required in the event that remote calibration of the traffic counter is required, where the local network within the location is unable to provide internet access. For ceiling exceed height of 16 feet, or ruled unsafe for ladder use, may require a lift/skyjack.
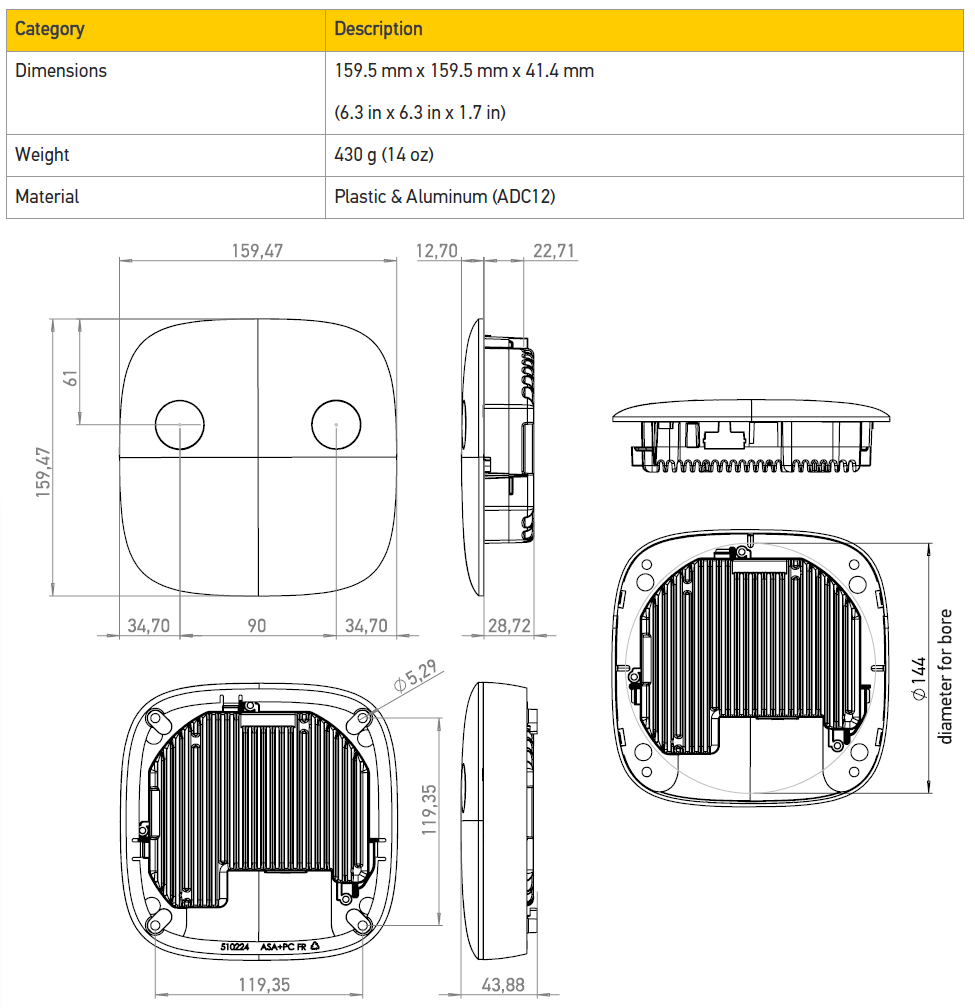
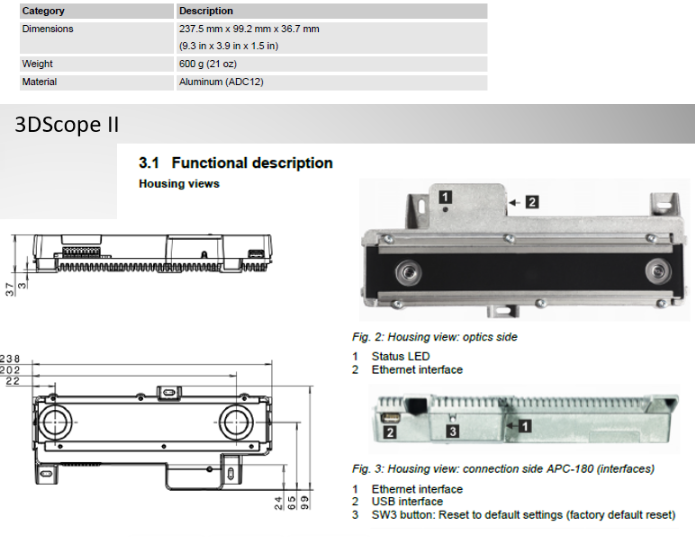
Technical / Mechanical Data
| 3DScope II LC(Black or White) | 3DScope II HC(Black or White) |
|
|
- Cable run from the entrance or area to be monitored to the network location providing internet access
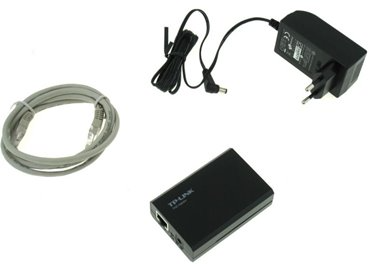
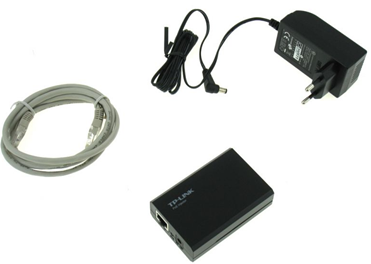
- (Optional) TP-Link PoE Injector
Installation Scope of Work
- Determine the mounting location for the counter.
- Measure Height and Width of Entrance to be monitored.
- Verify the detection are to determine if the coverage will be desirable.
- Run the cable
- Mount the traffic counter
- Install PoE Injector (Not required if there is an available PoE switch in this location with a free network port)
- Verify that 3D scope is online and communicating with T.M.A.S.
- Book the calibration session with SMS (Can be performed ahead of time)
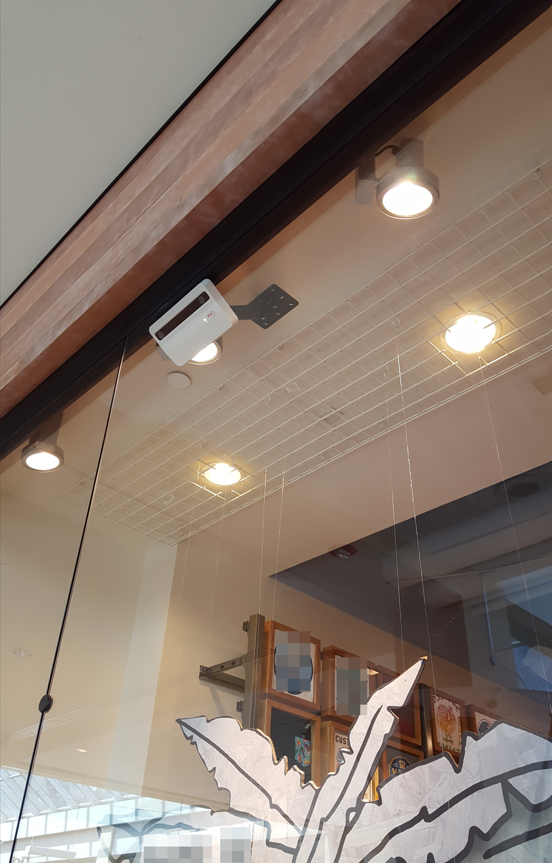
Mounting Considerations
-
View of the counter MUST NOT be blinded or obstructed by the following.
- Exit sign
- Hanging lights
- Signage (Store name, discount signs or digital)
- Walls, Soffit, Glass or screens.
- Light reflective surfaces which may project light directly into the counter lens.
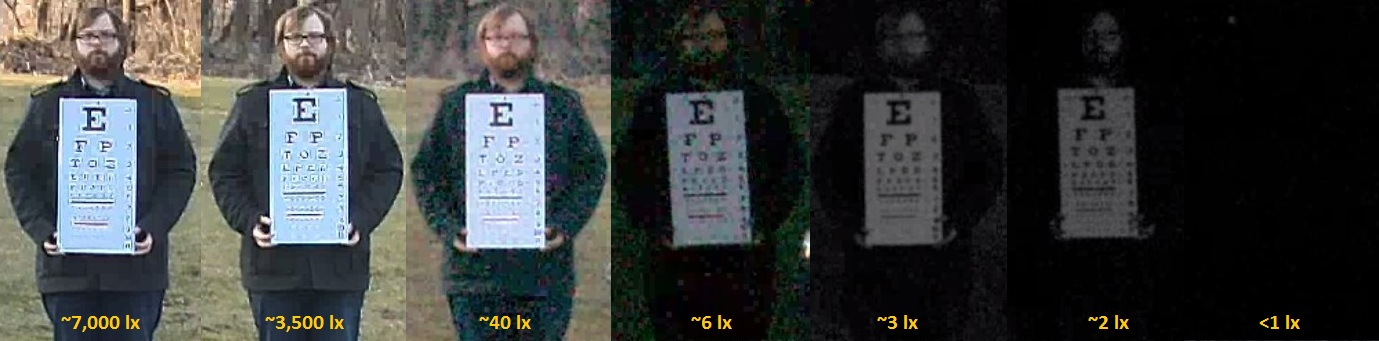
- Required illuminance: 3 LX
- Hanging displays, balloons or patio umbrellas
- Plants / Trees
-
Entrance Type
-
Door swings IN to the location
- The counter will need to be located minimum 1.5 feet further into the location than the MAX length of the door when fully opened.
-
Door swings OUT of the location
- The counter will be placed minimum 1.5 feet, ideally 2 feet into the location centered to the entrance
-
Stairs
- NOT recommended - Installation over the actual stair steps
- Recommended - installation over the landing at the bottom or top of the stairs.
-
Vestibule
- NOT recommended - To Install within the vestibule
- Recommended - Install on the store side of the vestibule doors.
- Spinning Door
- Elevator
- Escalator
-
Door swings IN to the location
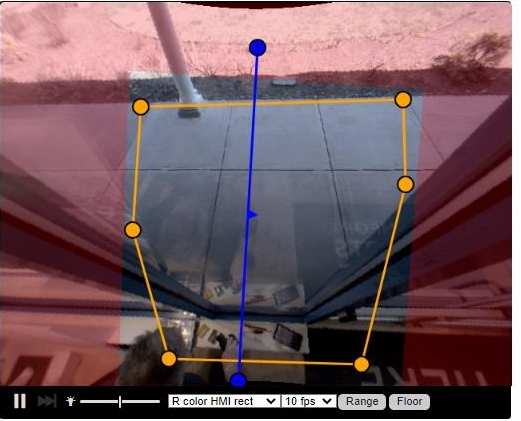
Measuring the entrance and verifying the coverage area
Refer to the following articles for more information:
3D Scope II - LC / HC coverage chart
Cabling for the counter
Refer to the following article for more information: Learn More >>>
Mounting the Counter
Which type of device are you mounting?
Surface mounting
- Fix the 3DII-LCsurface mount box to the ceiling.
- Attach the Ethernet cable to the 3D SCOPE II LC
- Click on the faceplate into the surface mounting frame.
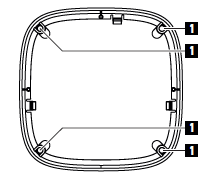
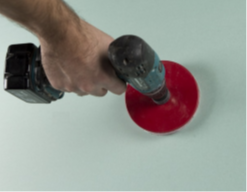
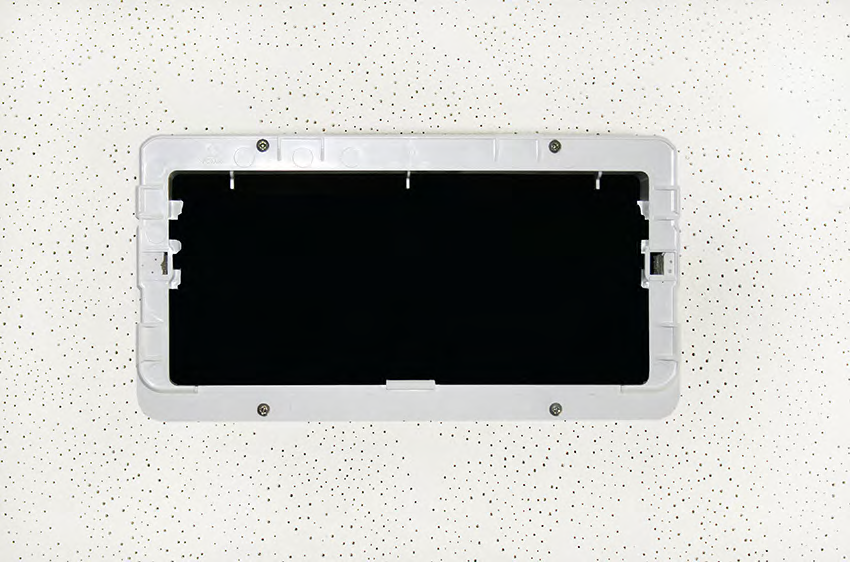
Recessed mounting
- Drill a hole of 144 - 150 mm (5.6 - 5.9 inch).
-
Mount the three screws and flaps - and flip them nearby the sensor.

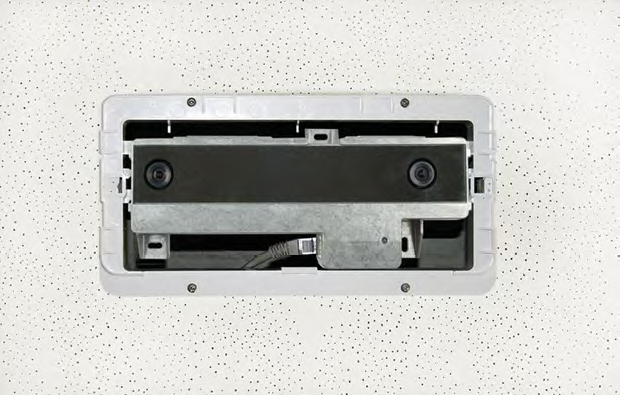
-
Fix it with the three screws and flaps - or the 4 screw holes depending to the ceiling material
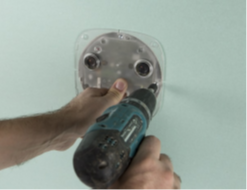
-
Attach the Ethernet cable to the 3DScope II-LC
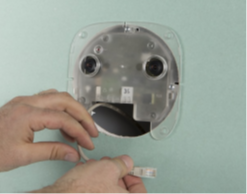
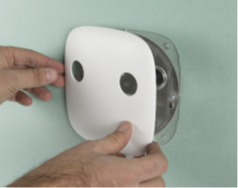
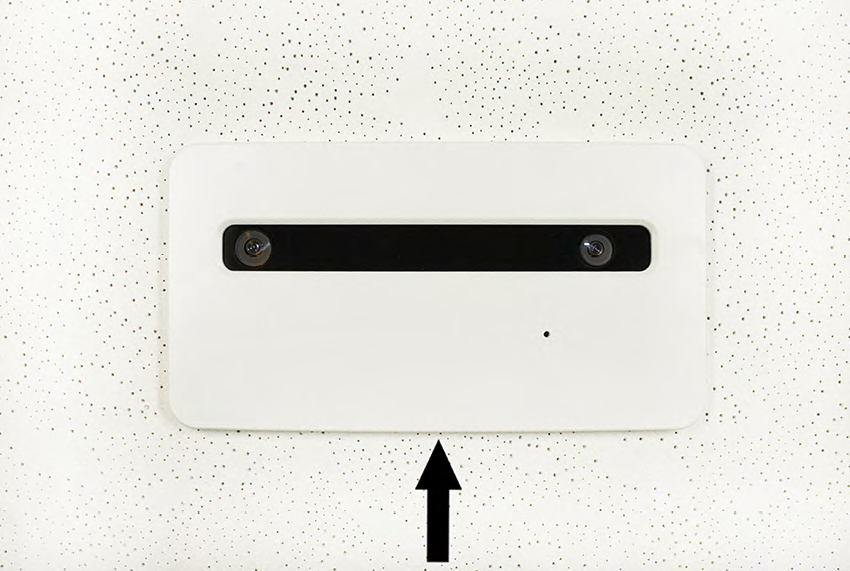
- Mount the faceplate
Surface mounting
1. Fix the 3DScope II to the ceiling using mounting hardware appropriate for the ceiling type.
2. Attach the Ethernet cable to the 3DScope II
3. Wipe Lens
4. Click on Cover
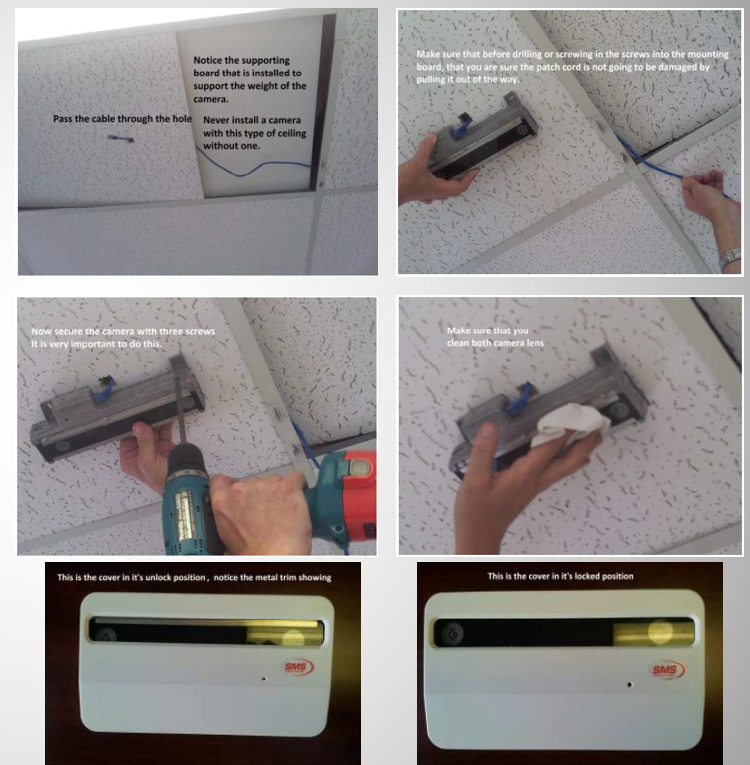
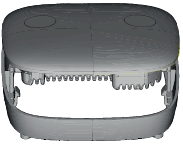
Recessed mounting
(Mount bracket and hood must have been purchased separately from SMS)
-
Mount the bracket inside the ceiling
-
Click the 3DScope into place and attach the ethernet cable
-
Install the cover by putting the hood on and slide it in by hand
Mounting on a bracket
Refer to the following article for more information: Bracket Article
Pass-By Mounting
|
|
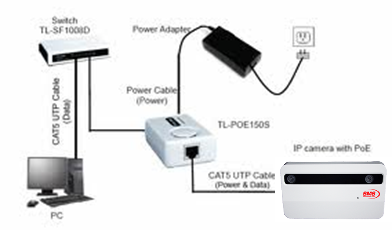
Installation of the PoE Injector
1. Locate the store network switch.
2. Place PoE Injector between Cable run / patch panel.
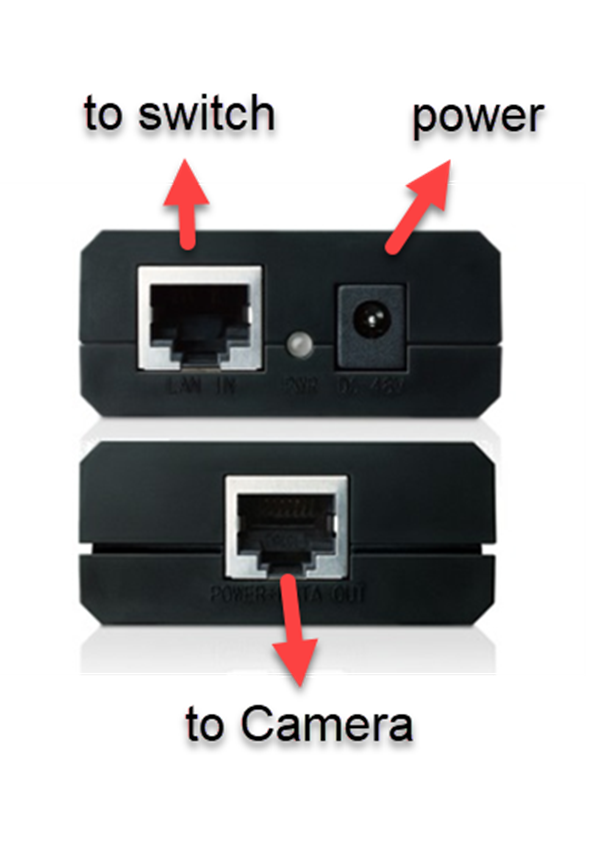
3. Insert Traffic counter Ethernet cable end into power+data out port of PoE Injector
4. Insert switch Ethernet cable into Lan In port of PoE Injector
5. Connect and plug in power adapter of PoE injector
6. Verify LED light on PoE should be solid green during normal operation
Verify that 3D scope is online and communicating with T.M.A.S.
This article explains how technicians can verify that a 3D Camera is online and communicating with the SMS Storetraffic Smartphone app and/or T.M.A.S server, prior to leaving site.
Calibrating your device
Once your device has been installed and confirmed to be connecting to our server, the device must be calibrated in order to count and send the data to SMS Storetraffic Smartphone app and/or T.M.A.S. .
Please visit the following link for the next step:
Customer Preparation for the Calibration Appointment
FAQ
Q: What kind of cable should I use (Cat5, Cat6 or Cat 7)?
A: The standard cables to use are Cat 5e or Cat 6
Q: Does SMS offer onsite installation services?
A: No longer.
Running a cat6 cable & physically installing a traffic counter are 2 very standard tasks for any average tech nowadays
Most of our customers already know a company which sometimes helps them with network / IT /installs / etc.
SMS offers an install manual and a free remote site survey to give the right install guidance to the technician.
SMS handles the critical portion, the remote calibration
By going direct to a tech, customers save many middlemen (tech / install company / SMS), saving the margin needed at each level.
Q: What kind of lighting is best for the 3D Scope?
A: The minimum amount of lighting possible is 3 LUX, however, SMS recommends a minimum of 6 LUX lighting.