3D SCOPE II LC and HC - Preparing for installation (Getting Started)
Table of Contents
OVERVIEW
This article will help in planning the installation of your 3D Scope II Camera.
DETERMINE COVERAGE
“Is one counter enough for my entrance?”
“Is the Low-Ceiling (LC) model enough?”
There are numerous variables that will determine the type and quantity of 3D Scope II people counter that is needed, as well as the type of mounting solution that will be required.
Examples:
- entrance width
- entrance height (door height)
- ceiling height
- open or closed ceiling
The following article will help you verify what width/depth coverage your 3D Scope II can have at different mounting heights.
3D Scope II - LC / HC coverage chart
PLANNING THE CAMERA PLACEMENT
“Where do I mount the camera?”
Once you have determined which camera suits you best, in terms of height and depth, you must then consider the best mounting scenario.
Mounting considerations:
Is there a soffit?
Are there any hanging lights or obstructing objects?
Is the ceiling too high?
The following article will help you with mounting considerations:
Installation of the 3D SCOPE II (LC & HC)
IS A MOUNTING BRACKET NEEDED?
“My ceiling is too high. How can I lower the camera?”
There are multiple solutions that can be used to lower a 3D Scope II.
SMS offers a wall or ceiling-mounted bracket solution.
The following article provides more information about this product.
3D Scope II Mounting Bracket (LC & HC)
POWERING UP THE CAMERA
“Where does my camera get its power from?”
3D Scope II counters are powered by PoE (Power over Ethernet).
If your router/switch has no built-in PoE port, then you will need to use a PoE injector.
The following article provides more information about powering your 3D Scope II.
How to power and connect IP counters to the network
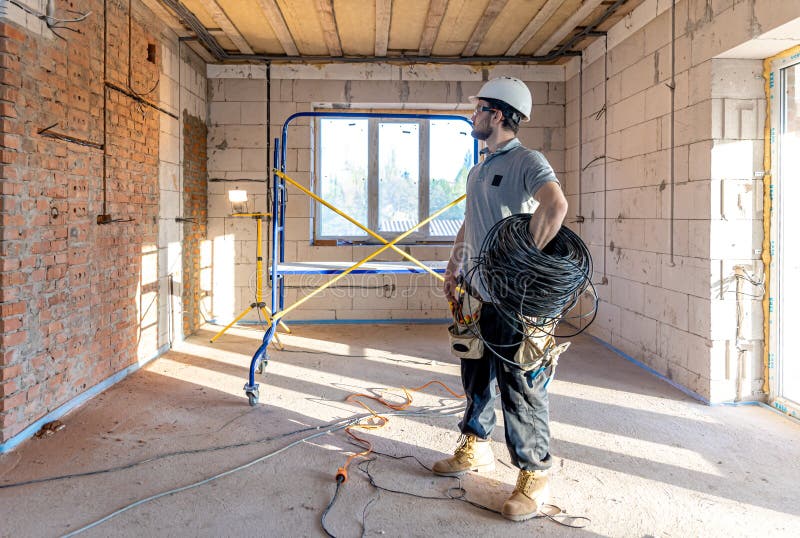
PLANNING THE CABLE RUN
“I've found the perfect spot for the camera! Now, how do I get it powered on and connected to the network?”
Now that you have determined where the camera will be mounted, it is now time to plan the cable run.
The following article will assist you with pre-cabling steps and considerations.
How To - Pre-Cable for an IP Traffic counter installation
TEST THE CAMERA BEFORE MOUNTING IT
“I'm so excited to mount the camera!”
Before mounting, we recommend connecting the 3D Scope II to your network or computer to confirm network access to the camera. A successful network connection will result in a solid green light on the 3D Scope II.
Sometimes, issues can arise due to faulty cables, which can be difficult to identify once the camera is in its final elevated position.
To avoid this:
- First test the camera network access using shorter cables near your network switch.
- After installing the permanent PoE cable from the switch to the mounting location, use a cable tester to check for network access and power to ensure a successful installation.
- There must be a SOLID green light once connected.
If you have difficulty confirming network access to the camera, refer to this article.
However, a solid green light is sufficient to proceed with calibration.

CALIBRATION
“My camera is installed. Now what?”
Your counter is now ready for calibration!
You can book a calibration session at the following links:
1-3 Counters : https://storetraffic.as.me/book-a-calibration-of-3-or-less
4-5 Counters : https://storetraffic.as.me/book-a-calibration-of-4-to-6-max
FAQ
Q: What if I need to cover a very wide entrance, which cannot be covered by one single camera?
A: 3D Scope II counters have a Multi-Sensor Fusion option, where the images from multiple counters can be fused together.
Q: I have a complicated entrance and am not sure where I could mount a 3D Scope II camera.
A: Please see the following article for the required photos and information that SMS will need to suggest an installation point:
REMOTE SITE STUDY
Once the said photos and measurements have been collected, you may send them to success@storetraffic.com for mounting recommendations.